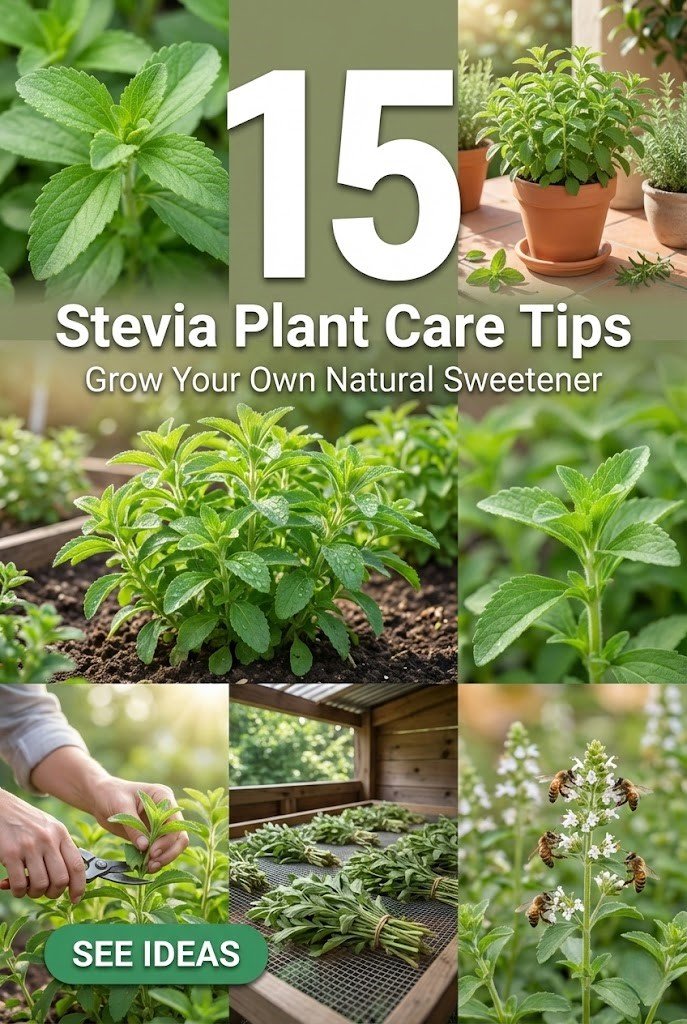
Stevia, a natural sweetener derived from the leaves of the Stevia rebaudiana plant, offers a zero-calorie alternative to sugar while thriving in home gardens. You can cultivate this perennial herb to enjoy fresh, sweet leaves for teas, baking, or direct consumption, reducing reliance on processed sugars. Proper stevia plant care ensures robust growth and abundant yields, making it an ideal addition to your herb collection.
Originating from South America, stevia prefers warm conditions but adapts well with attentive management. By following these guidelines, you will foster healthy plants that produce intensely sweet foliage.
This approach not only enhances your garden’s productivity but also promotes sustainable, homegrown wellness.
1) Selecting the Ideal Planting Location
You should position your stevia plants in a spot that receives full sun for at least six hours daily, as this promotes sturdy stems and maximizes leaf sweetness. While the plant tolerates partial shade, excessive shadow can lead to leggy growth and reduced flavor intensity. Consider your local climate; in cooler regions, opt for a south-facing area to capture maximum warmth.
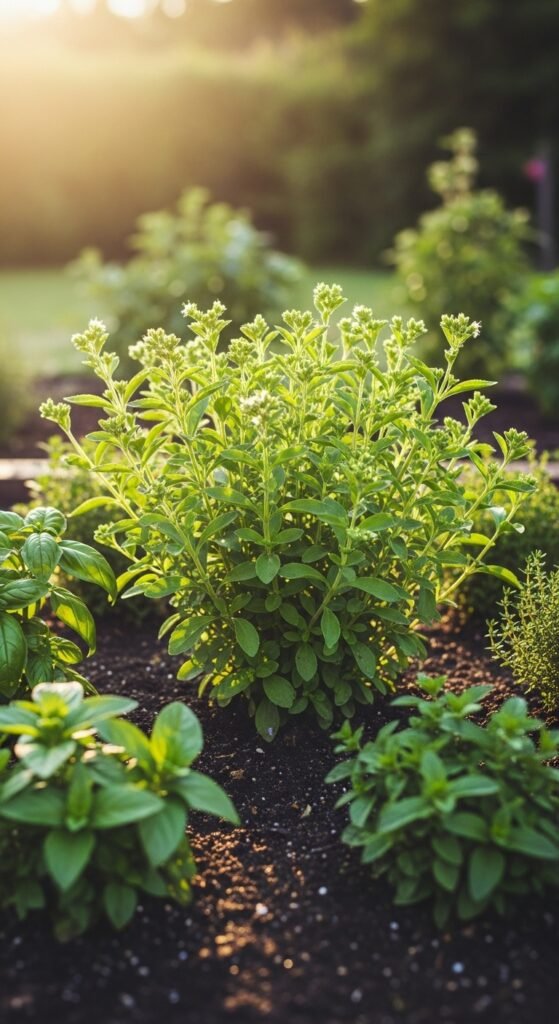
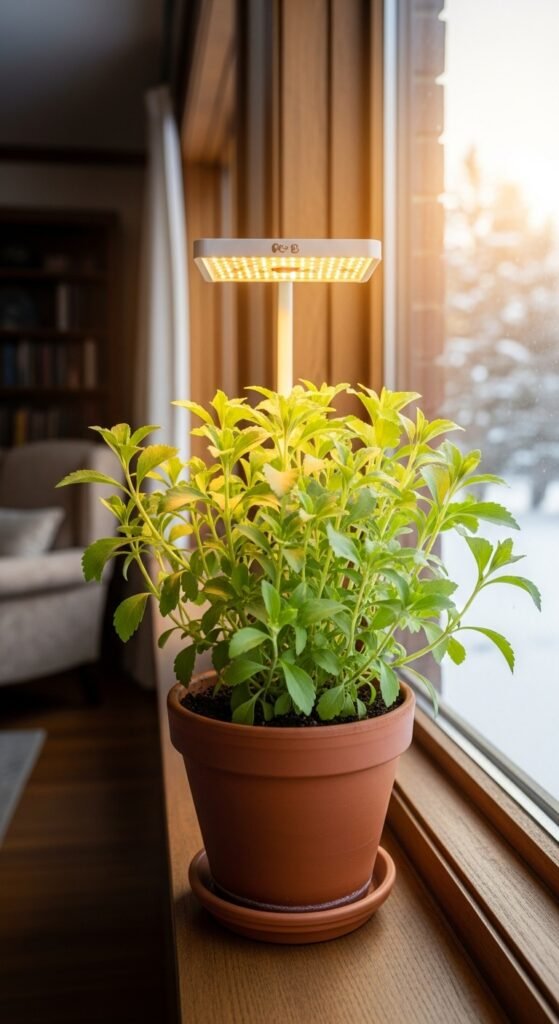
The reason for prioritizing sunlight lies in stevia’s tropical origins, where ample light fuels photosynthesis and compound production responsible for its sweetness. To implement this, scout your garden for unobstructed areas, avoiding competition from taller plants or structures. If growing indoors, supplement with grow lights during shorter days to mimic optimal conditions.
For enhanced results, integrate stevia into a dedicated herb area. Explore patio herb garden ideas to create a functional and aesthetically pleasing space that supports multiple herbs, including stevia.
2) Preparing Well-Drained Soil
Begin by testing your soil’s pH, aiming for a slightly acidic to neutral range of 6.5 to 7.5, which stevia favors for nutrient uptake. Amend heavy clay soils with organic matter like compost to improve drainage and prevent root rot, a common issue in waterlogged conditions.
Well-drained soil is crucial because stevia’s roots are sensitive to excess moisture, which can cause fungal diseases and stunt growth. Incorporate perlite or sand if necessary to enhance aeration. When planting, mound the soil slightly to facilitate runoff.
To build nutrient-rich beds, consider sustainable practices. A pallet compost bin provides an efficient way to produce homemade compost, enriching your soil while recycling materials.
3) Starting from Seeds or Cuttings
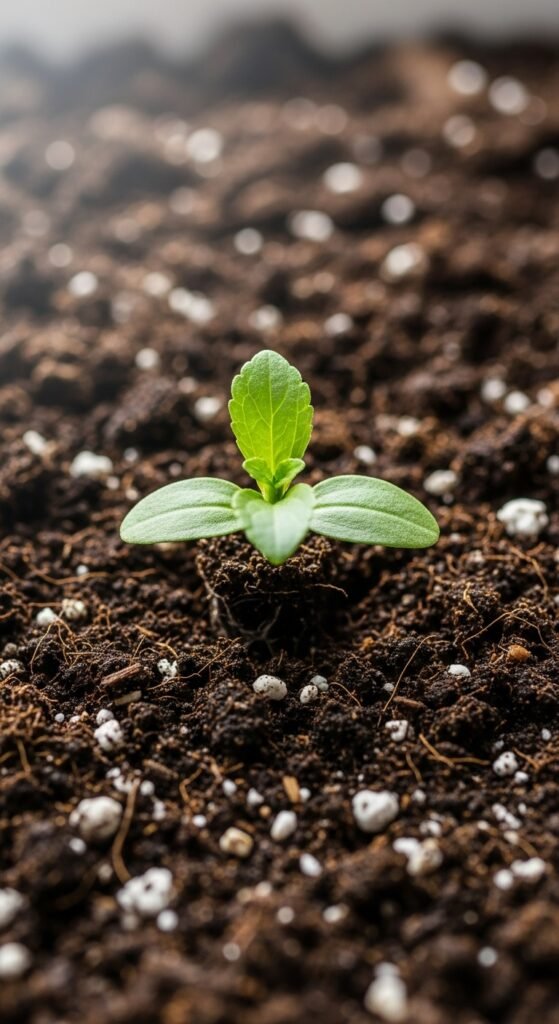
You can propagate stevia from seeds, but germination is often inconsistent, so sow them indoors under lights eight weeks before the last frost. Alternatively, take stem cuttings from mature plants, dipping them in rooting hormone and placing in moist potting mix for reliable results.
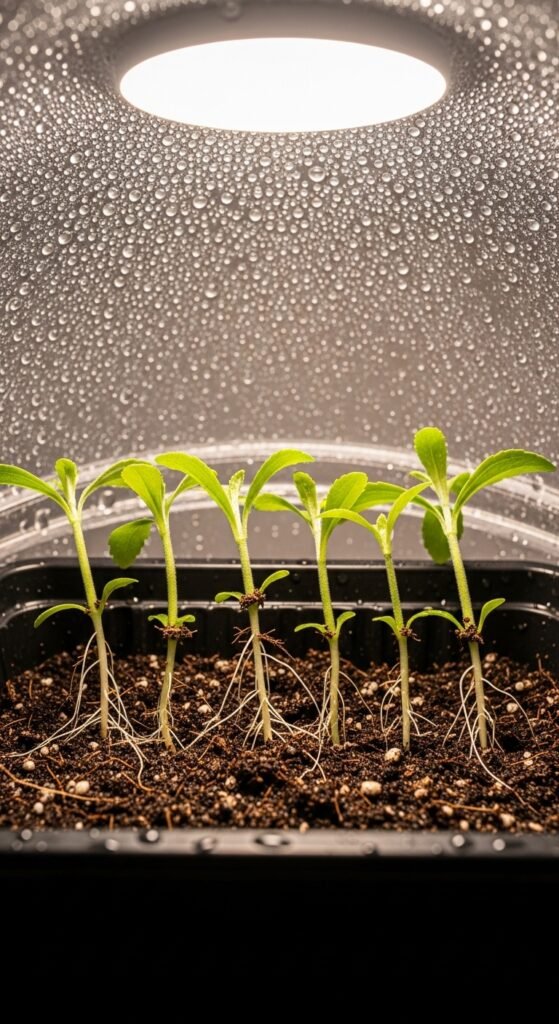
Using cuttings accelerates establishment, as they clone the parent plant’s desirable traits, such as sweetness level. This method bypasses the uncertainty of seeds. Keep the medium consistently damp and provide bottom heat to encourage root development within two weeks.
For beginners, starting small is key. Draw inspiration from egg carton seed starters for an eco-friendly approach to nurturing young stevia plants before transplanting.
4) Establishing a Watering Routine
Water your stevia plants deeply but infrequently, allowing the top inch of soil to dry out between sessions to mimic their natural habitat. Overwatering leads to weak roots, while underwatering stresses the plant, diminishing leaf quality.
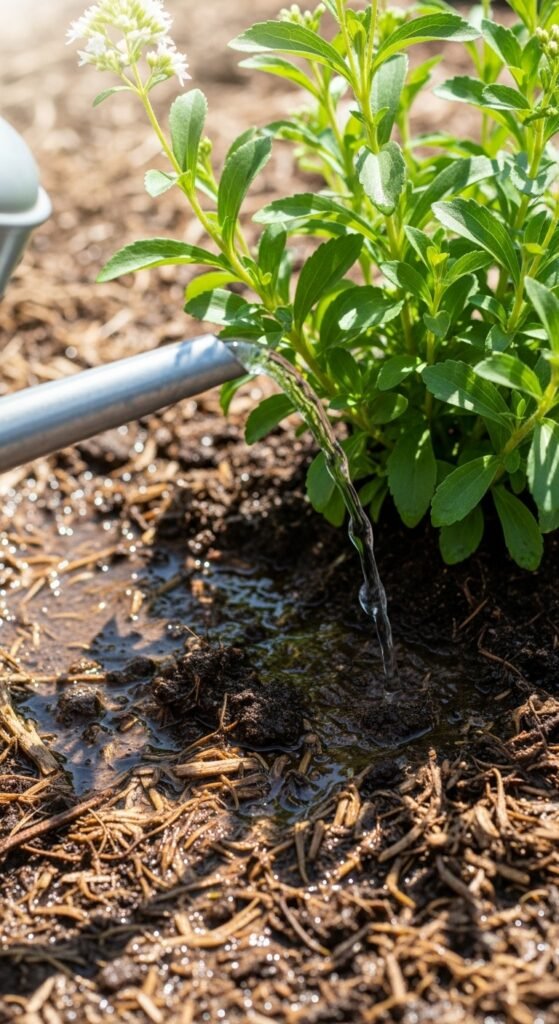
Consistent moisture supports vigorous growth without promoting diseases. In hot weather, you may need to water every few days, adjusting based on rainfall and humidity. Use mulch to retain soil moisture and suppress weeds.
Timing is essential for efficiency. Refer to guidance on the best time to water in summer to optimize absorption and minimize evaporation losses.
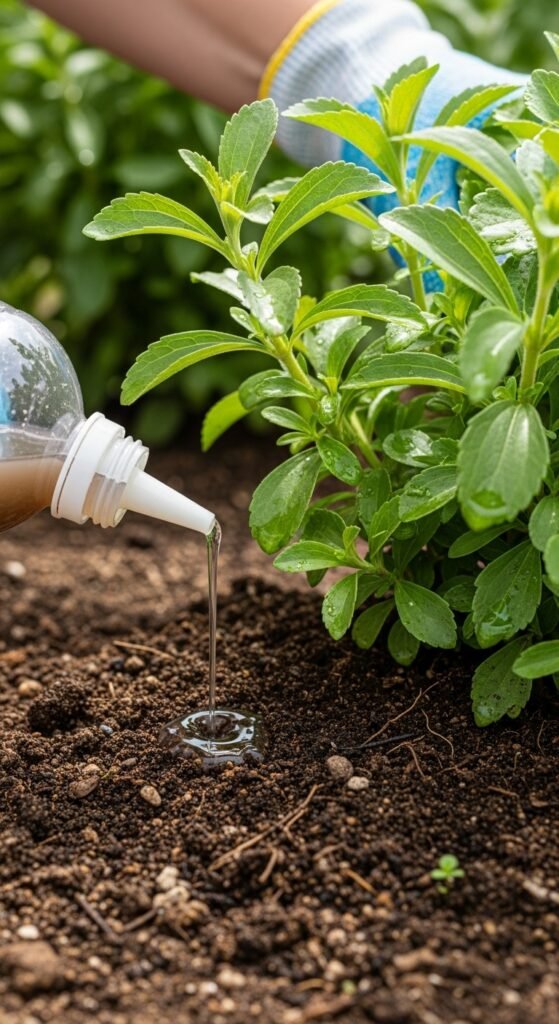
5) Applying Balanced Fertilization
Fertilize stevia sparingly with a balanced, organic product every four to six weeks during the growing season, avoiding high-nitrogen formulas that favor foliage over sweetness. Dilute to half strength to prevent burn.
Moderate feeding encourages healthy development without excessive vegetative growth, preserving the plant’s compact form. Organic options like fish emulsion provide essential micronutrients. Monitor for signs of deficiency, such as yellowing leaves, and adjust accordingly.
Incorporate companion strategies for natural enrichment. Planting alongside bee-friendly plants not only aids pollination but can improve overall garden fertility through biodiversity.
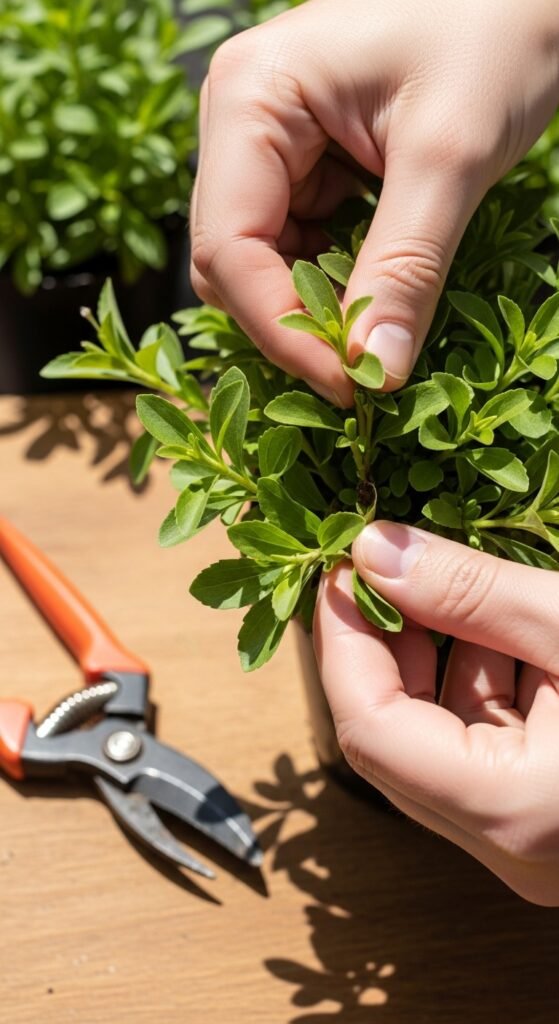
6) Pruning for Bushier Growth
Pinch back the tips of young stevia plants when they reach six inches tall to promote branching and a fuller shape. Continue pruning throughout the season, removing flower buds to direct energy toward leaf production.
This technique increases yield by encouraging more leaves, the source of sweetness. Without pruning, plants become tall and sparse. Use clean shears to avoid disease transmission, and harvest pruned sections for immediate use.
Similar methods apply to other herbs. For example, techniques in spring hydrangea care emphasize timely pruning for optimal form and health.
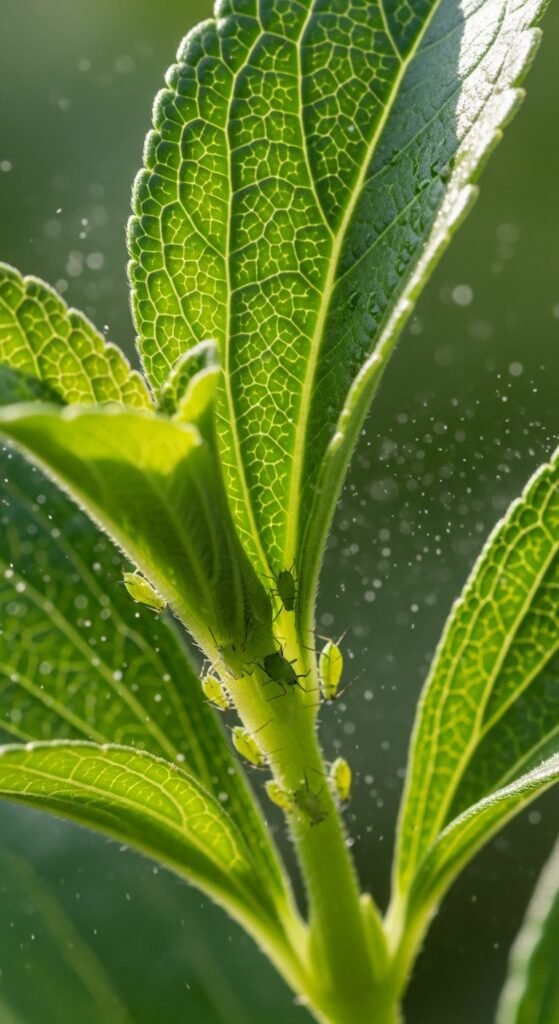
7) Managing Pests and Diseases
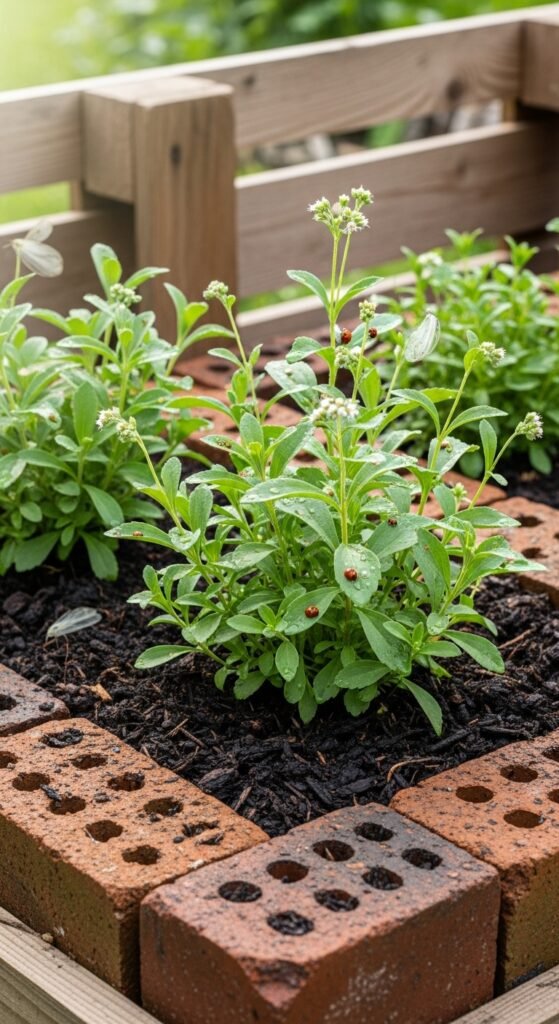
Inspect stevia regularly for aphids, spider mites, or slugs, treating infestations promptly with insecticidal soap or neem oil to minimize damage. Ensure good air circulation to deter fungal issues like powdery mildew.
Proactive pest management preserves leaf integrity, crucial for harvest quality. Natural predators, such as ladybugs, can assist in control. Avoid chemical pesticides to maintain the plant’s organic status.
Integrate repellent varieties nearby. Consider adding mosquito-repelling plants to your garden, which can also help ward off common herb pests.
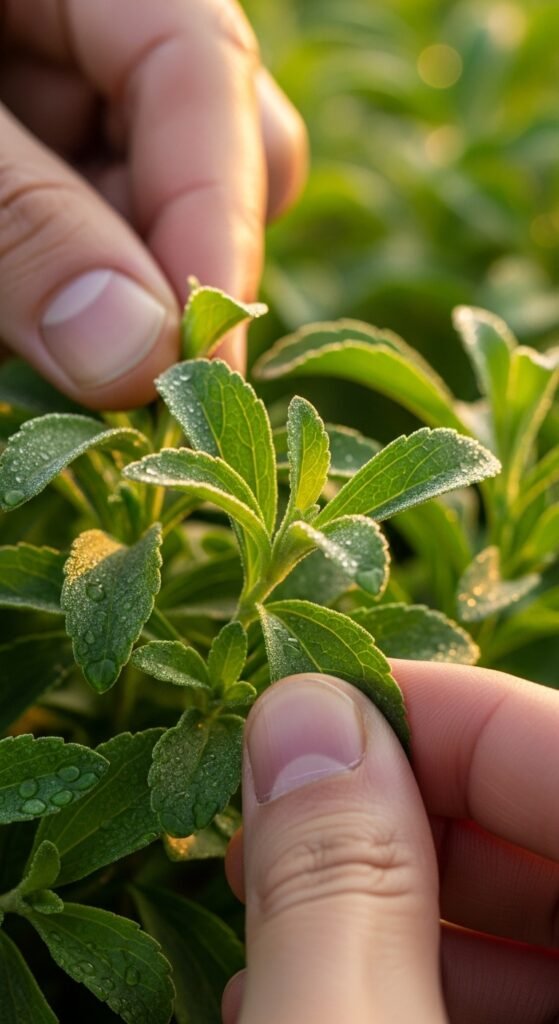
8) Harvesting Leaves Effectively
Harvest stevia leaves in the morning when sweetness is peak, picking individual leaves or cutting stems just before flowering for the best flavor. Regular harvesting stimulates new growth.
Timing ensures maximum stevioside content, the compound behind the sweetness. Process fresh leaves or dry them for storage. Aim to harvest multiple times per season for continuous supply.
For drying, utilize appropriate setups. An outdoor herb drying rack offers a practical solution for preserving your stevia harvest naturally.
9) Drying and Storing Harvested Leaves
Dry stevia leaves in a warm, shaded area with good ventilation, spreading them in a single layer to prevent mold. Once crisp, store in airtight containers away from light to retain potency.
Proper drying concentrates the sweetness and extends shelf life up to a year. Grind dried leaves into powder for versatile use in recipes. Label with dates for freshness tracking.

Adapt methods from similar herbs. Techniques for dehydrating parsley can be applied to stevia, ensuring efficient preservation without flavor loss.
10) Overwintering in Colder Climates
In zones below 9, bring stevia indoors before frost, placing in a sunny window or under grow lights. Reduce watering and fertilization during dormancy to mimic natural cycles.
Overwintering allows perennial regrowth, saving costs on new plants. Monitor for pests during indoor periods. Prune lightly in spring before returning outdoors.
Indoor care mirrors other sensitive plants. Insights from winter houseplant care can enhance your stevia’s survival through colder months.
11) Implementing Companion Planting
Pair stevia with compatible plants like basil or tomatoes to enhance growth and deter pests naturally. Avoid planting near fennel, which can inhibit stevia’s development.
Companions improve biodiversity, boosting resilience and yield. This polyculture approach reduces chemical needs. Select partners based on similar water and sun requirements.

For structured designs, explore permaculture guilds to create synergistic plant communities including stevia.
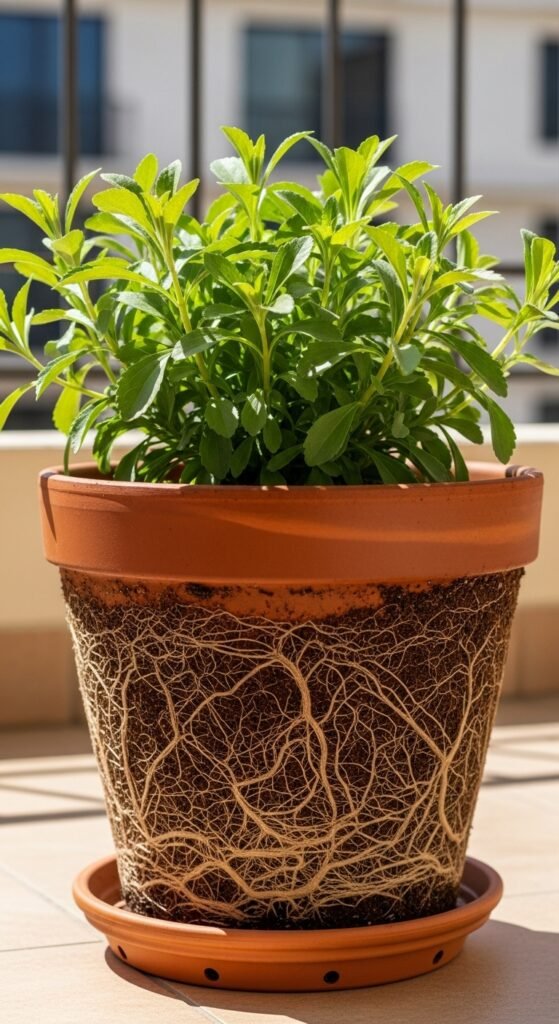
12) Growing in Containers
Choose pots at least 12 inches deep with drainage holes for stevia, using a lightweight potting mix. This method suits balconies or patios where ground space is limited.
Container growing offers mobility for optimal sun exposure and frost protection. Rotate pots for even growth. Repot annually to refresh soil nutrients.
Select suitable vessels. Herb planter box ideas provide creative options for cultivating stevia in confined areas.
13) Monitoring for Nutrient Deficiencies
Watch for yellowing leaves indicating nitrogen shortage or stunted growth signaling phosphorus lack, addressing with targeted organic amendments. Regular soil tests guide corrections.
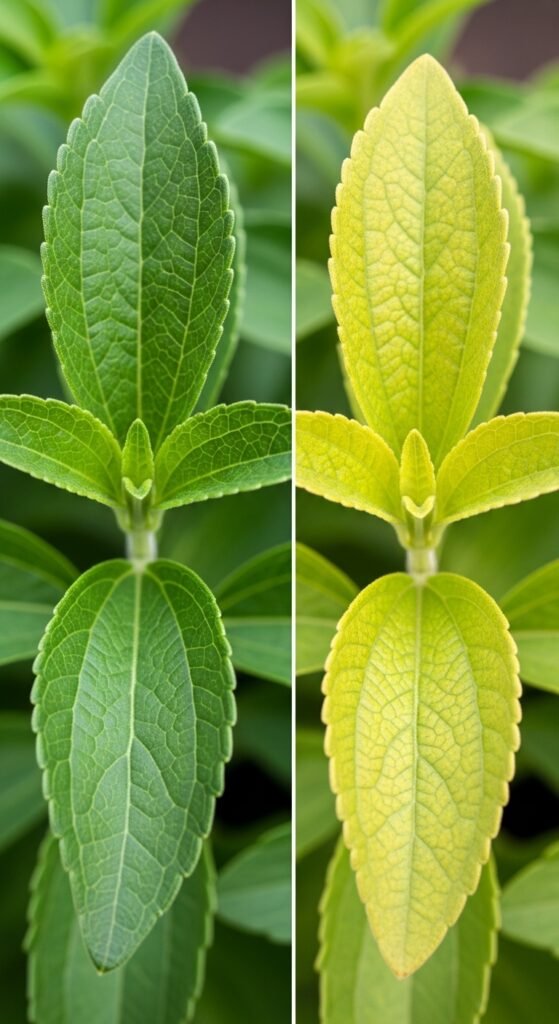
Early detection prevents yield loss and maintains plant vigor. Balanced nutrition supports sweet leaf production. Avoid over-fertilization, which can dilute flavor.
14) Propagating for Expansion
Take 4-6 inch cuttings from non-flowering stems in summer, rooting them in water or soil for new plants. This expands your stevia patch economically.
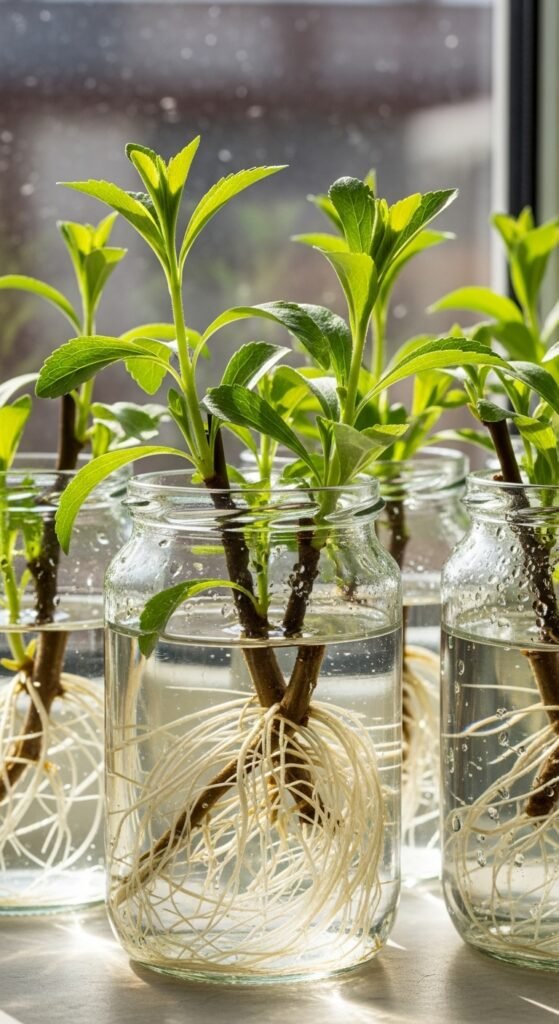
Propagation multiplies your stock, ensuring genetic consistency. Success rates improve with humidity domes. Transplant rooted cuttings after two weeks.
15) Encouraging Pollinator Activity
Allow some stevia plants to flower late in the season to attract bees and butterflies, enhancing garden ecology. The white blooms add visual appeal.
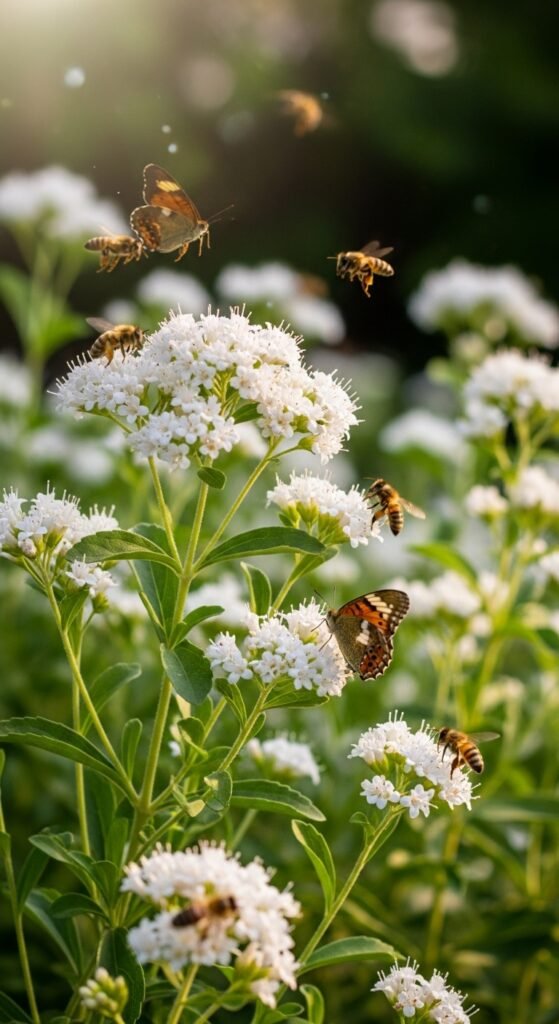
Pollinators boost overall fertility, benefiting nearby crops. This practice supports biodiversity without sacrificing much harvest, as leaves remain usable pre-flowering.
Key Principles of Stevia Cultivation
Understanding Stevia’s Life Cycle

Stevia is a tender perennial, completing its cycle from seed to harvest in one season in cold areas, but persisting multiple years in warmth. You must align care with its phases for success.
Sustainable Practices
Adopt organic methods, like mulching and composting, to minimize environmental impact while growing stevia. This ensures pure, chemical-free leaves.
Health Benefits Integration

Incorporate homegrown stevia into your diet for natural sweetness, supporting blood sugar management and calorie reduction in daily meals.
Frequently Asked Questions
Is stevia easy to grow for beginners?
Yes, stevia is relatively straightforward for novices, provided you meet its basic needs for sun, well-drained soil, and moderate watering. Start with cuttings for quicker results.
How often should I harvest stevia leaves?
Harvest every few weeks during the growing season, focusing on mature leaves to encourage continuous production without stressing the plant.
Can stevia be grown indoors year-round?
Absolutely, with sufficient light from south-facing windows or artificial sources, stevia thrives indoors, offering fresh leaves even in winter.
What is the sweetness level of stevia compared to sugar?
Stevia leaves are up to 300 times sweeter than sugar, so use sparingly in recipes to achieve balanced flavors.
Does stevia attract pests?
Occasionally, but common issues like aphids are manageable with natural remedies, keeping your plants healthy with vigilant monitoring.