

Drying herbs in an air fryer offers you a convenient and efficient method to preserve the aromatic essence of your garden harvest. This technique utilizes the appliance’s circulating hot air to gently remove moisture, ensuring your herbs retain their vibrant flavors and nutrients without the need for traditional dehydrators. By mastering drying herbs in an air fryer, you can extend the shelf life of your fresh produce, making it readily available for culinary uses throughout the year.
The process is straightforward and accessible, requiring minimal equipment beyond your air fryer. You benefit from quicker drying times compared to oven methods, often completing the task in just a few hours. This approach not only saves space but also minimizes energy consumption, aligning with sustainable gardening practices. Whether you are a seasoned gardener or new to herb preservation, incorporating this method enhances your ability to enjoy homegrown flavors long after the growing season ends.
Explore these 15 ideas to optimize your drying herbs in an air fryer experience, each tailored to specific herbs or techniques for superior results.
1) Basic Basil Drying Technique
You begin by harvesting fresh basil leaves at their peak, ensuring they are clean and dry. Spread them in a single layer inside the air fryer basket, avoiding overcrowding to promote even airflow. Set the temperature to 95°F and dry for 1-2 hours, checking periodically to prevent over-drying.
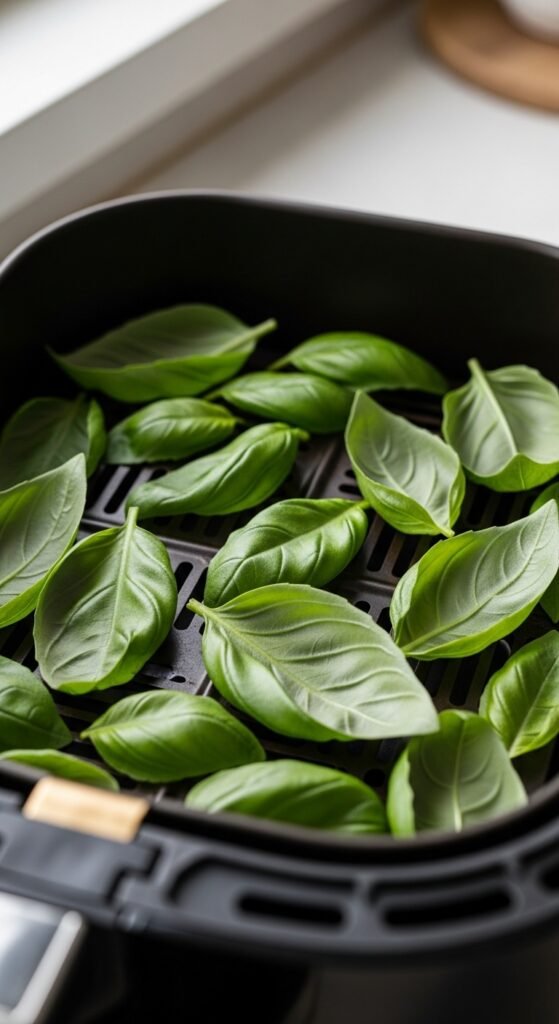
This method preserves basil’s pungent aroma and bright green color, making it ideal for seasoning Italian dishes. The key benefit is retaining essential oils that contribute to its flavor profile. Compared to sun drying, the air fryer provides consistent results regardless of weather conditions.
To execute, preheat your air fryer if necessary, then monitor the leaves until they crumble easily between your fingers. Store in airtight containers away from light. For enhanced gardening, consider integrating this with basil growing tips to ensure a steady supply of fresh herbs.
2) Mint Leaves with Parchment Lining
You prepare mint by gently washing and patting dry the leaves, then lining the air fryer basket with parchment paper to prevent sticking. Arrange the leaves in a thin layer and set the appliance to 100°F for about 1.5 hours, flipping halfway for uniformity.

Mint’s refreshing menthol essence is best preserved this way, perfect for teas or desserts. You achieve a concentrated flavor that elevates your recipes without loss of potency. This technique outperforms microwave drying by avoiding uneven heating spots.
Implement by ensuring the parchment has small perforations for air circulation. Once crisp, cool and crush for storage. Pair this idea with herb gardening for beginners to cultivate your own mint varieties effectively.
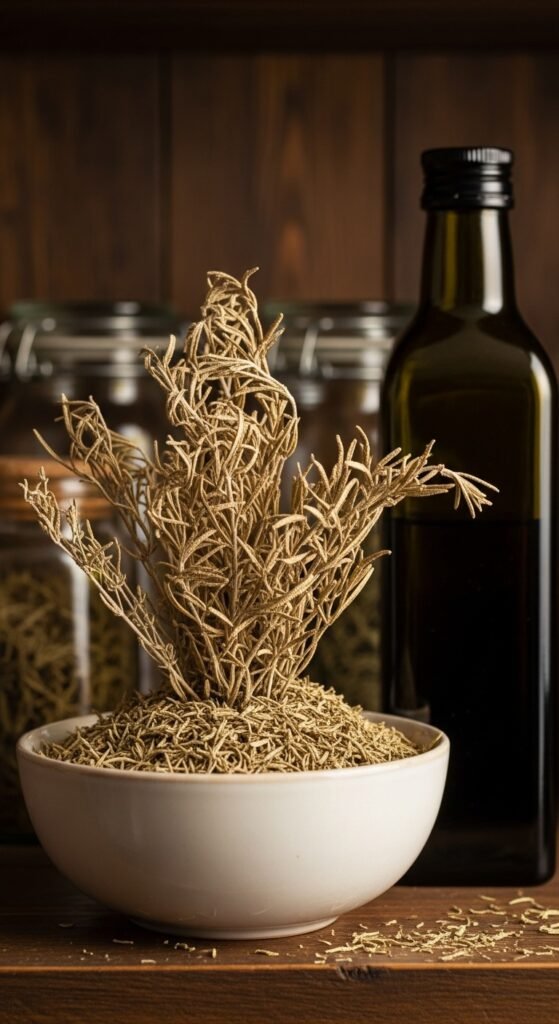
3) Rosemary Sprigs at Low Humidity
You select robust rosemary sprigs, trimming excess stems and laying them flat in the air fryer. Operate at 90°F for 2-3 hours, ensuring low humidity in your environment to accelerate the process without compromising quality.
Rosemary’s woody, pine-like notes are intensified through this drying, enhancing meats and roasts. Emphasize the retention of antioxidants for health benefits. This yields superior texture over traditional hanging methods.
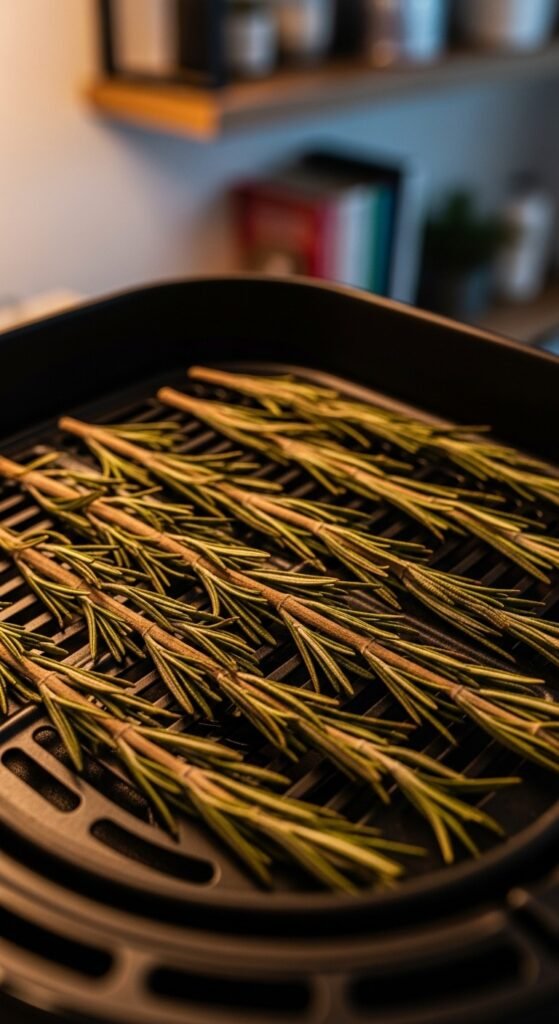
Proceed by spacing sprigs adequately and testing for brittleness. Seal in jars for longevity. Complement your efforts with growing rosemary in pots for convenient access to fresh material.
4) Thyme Bunches in Batches
You bundle small thyme branches, securing loosely with twine, and place them in the air fryer set to 95°F for 1-2 hours per batch to handle larger quantities efficiently.
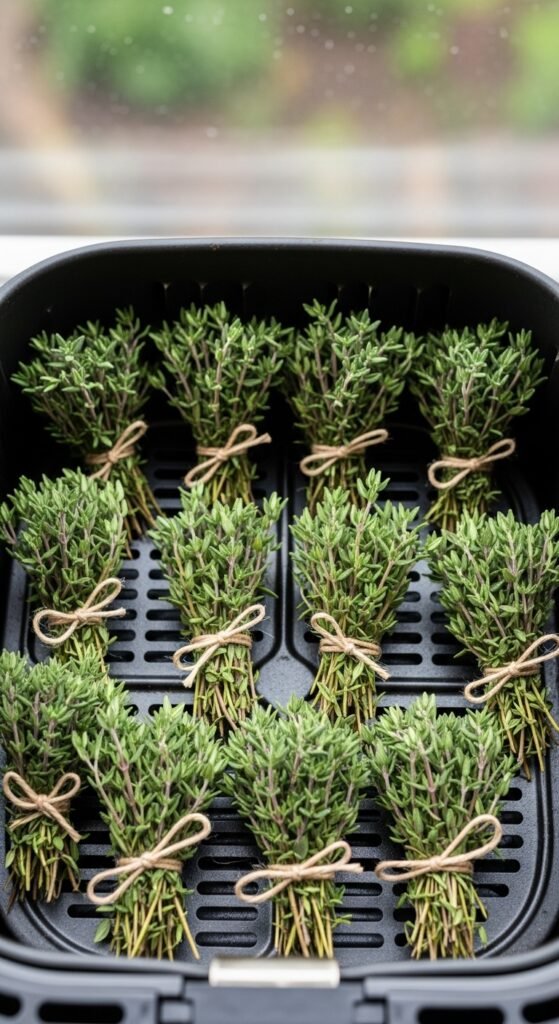
Thyme’s earthy flavor profile is locked in, ideal for soups and stews. You gain time efficiency and consistent dehydration across batches. This surpasses oven drying in speed and energy use.
Divide your harvest into manageable groups, rotate as needed, and store whole or stripped. Integrate with thyme plant care strategies to maintain a thriving supply.
5) Oregano Leaves with Gentle Shake
You detach oregano leaves from stems, spread them out, and use a 100°F setting for 1.5 hours, gently shaking the basket midway to ensure even exposure.
Oregano’s bold, peppery taste is preserved, enhancing Mediterranean cuisine. The shaking technique prevents clumping, yielding uniform dryness. It offers better control than natural air drying.
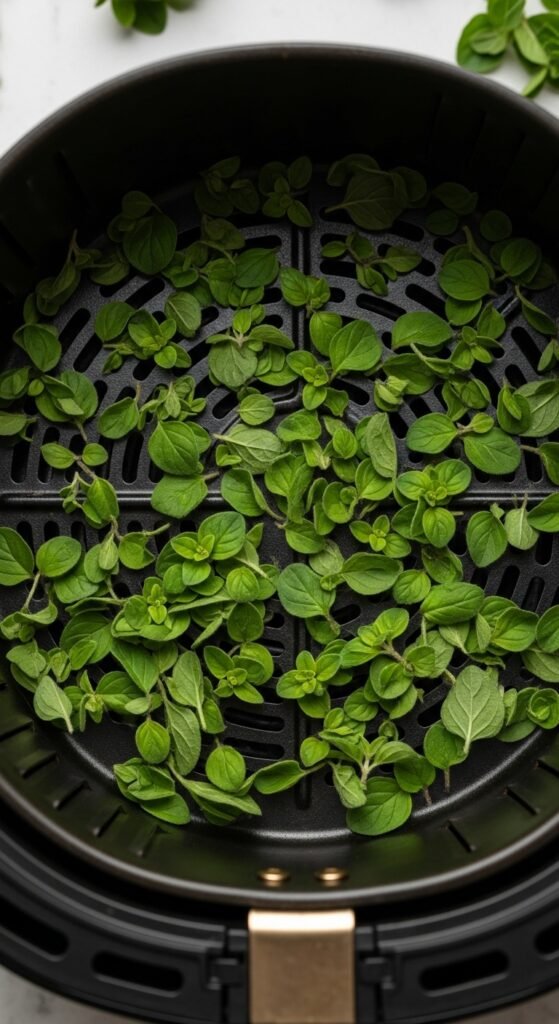
After drying, cool completely before packaging. This pairs well with companion planting herbs to boost your garden’s productivity.
6) Parsley Flakes Preparation
You chop fresh parsley finely after washing, then dry at 95°F for 1-2 hours in the air fryer, stirring occasionally for flake consistency.
Parsley’s mild, fresh flavor is concentrated into versatile flakes for garnishing. Focus on nutrient preservation like vitamin C. This method delivers quicker results than dehydrators.
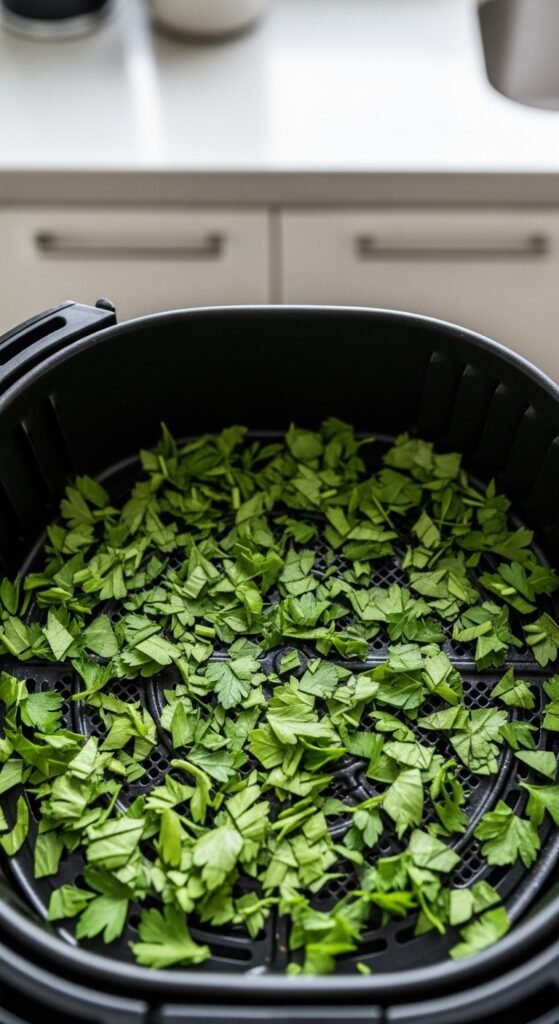
Ensure even chopping for uniform drying, then store in spice jars. Enhance with dehydrating parsley insights for refined techniques.
7) Cilantro Quick Dry Method
You separate cilantro leaves, pat dry, and air fry at 90°F for 1 hour, monitoring closely due to its delicate nature to avoid browning.
Cilantro’s citrusy zest is retained for salsas and curries. You benefit from rapid processing that maintains color and aroma. Superior to freezing in preventing flavor dilution.
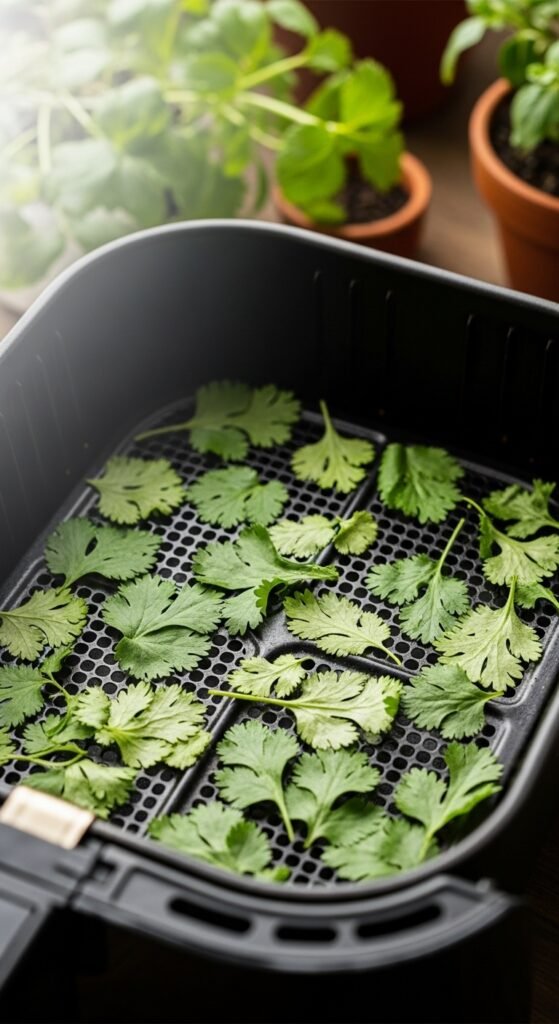
Use a low fan speed if adjustable, then crumble for use. Link this to dehydrating cilantro for specialized advice.
8) Sage Whole Leaf Approach
You lay sage leaves flat without overlapping, drying at 100°F for 2 hours to preserve their intact shape for culinary or decorative uses.
Sage’s savory, slightly bitter profile is enhanced, perfect for poultry seasonings. This preserves medicinal properties effectively. Outperforms sun drying in consistency.
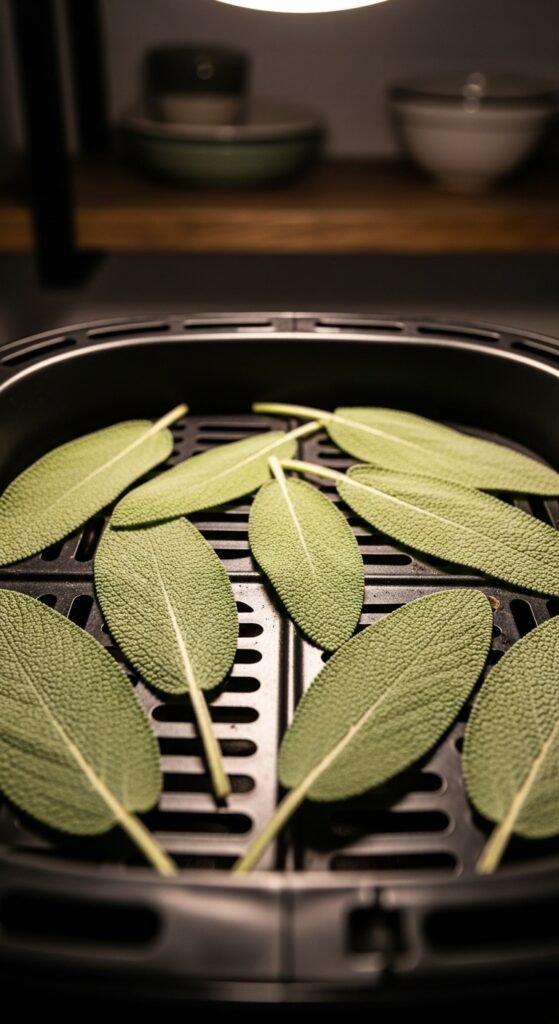
Handle leaves gently post-drying, store layered. Connect with DIY herb drying rack for alternative storage ideas.
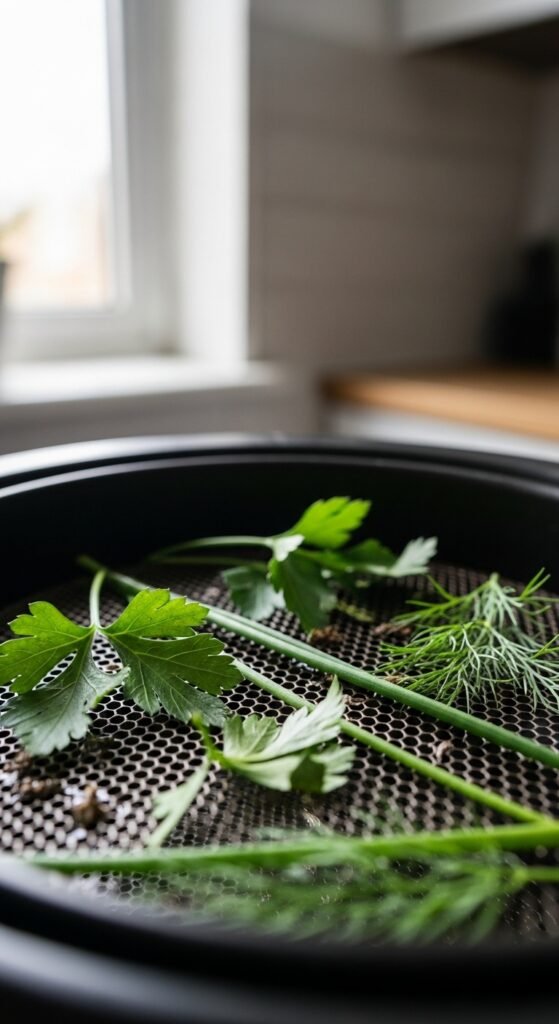
9) Dill Weed and Seed Separation
You harvest dill, separating weeds from seeds, and dry each at 95°F for 1-1.5 hours separately to optimize texture and flavor extraction.
Dill’s tangy notes are intensified for pickling and sauces. Separation ensures targeted use in recipes. More efficient than combined methods.
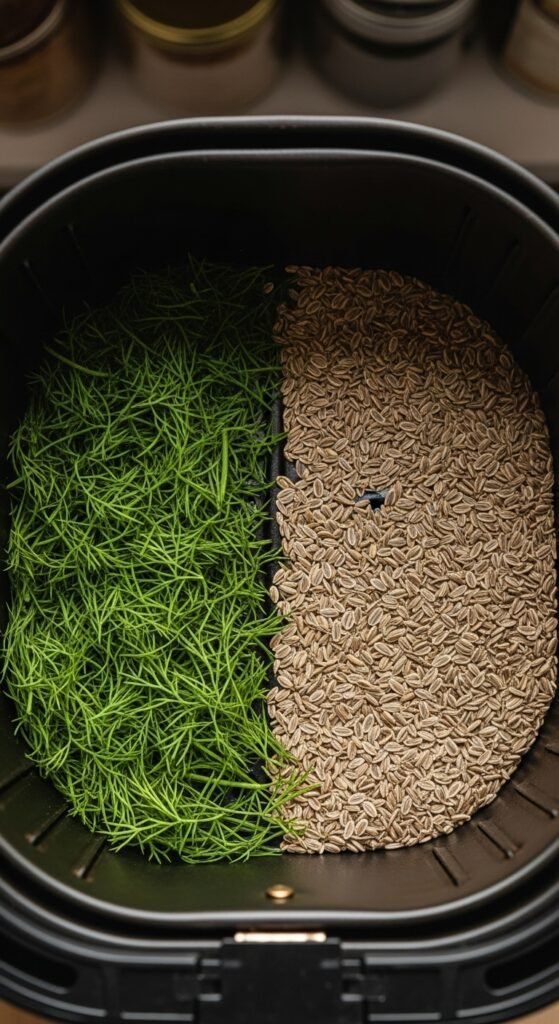
Process in small batches, label storage containers. Tie in with dill for pickling applications.
10) Chives Fine Chop Drying
You snip chives into small pieces, spread thinly, and dry at 90°F for 1 hour, ensuring quick moisture removal for fine texture.
Chives’ onion-like mildness is concentrated for toppings. You achieve powdery consistency ideal for blends. Faster than oven alternatives.
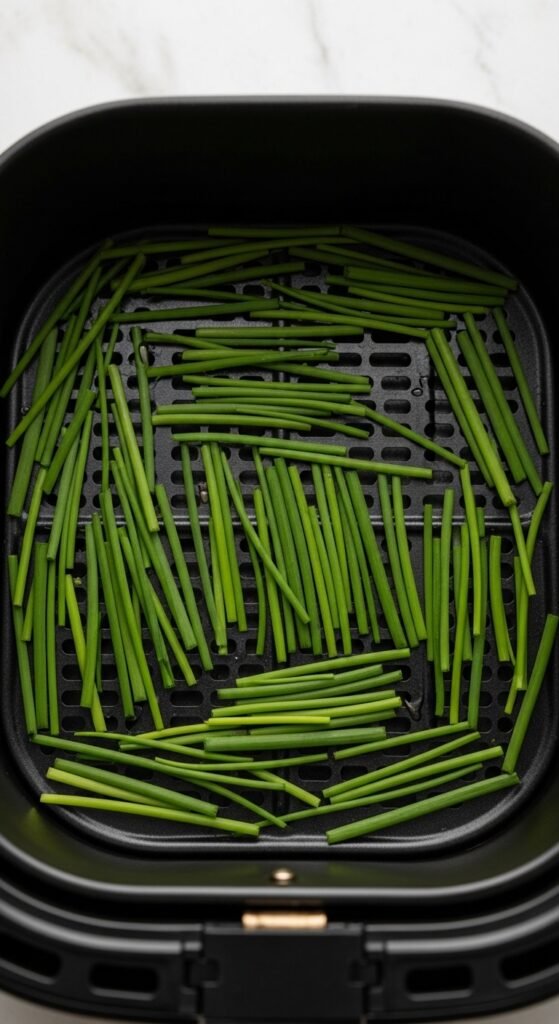
Stir midway, cool before grinding if desired. Align with dehydrating chives for expert tips.
11) Herb Blend Creation Pre-Dry
You mix compatible herbs like basil and oregano before drying at 95°F for 1.5 hours, creating custom blends during the process.
This infuses flavors together early, for seamless seasoning mixes. Saves time in post-processing blending. Innovative over individual drying.
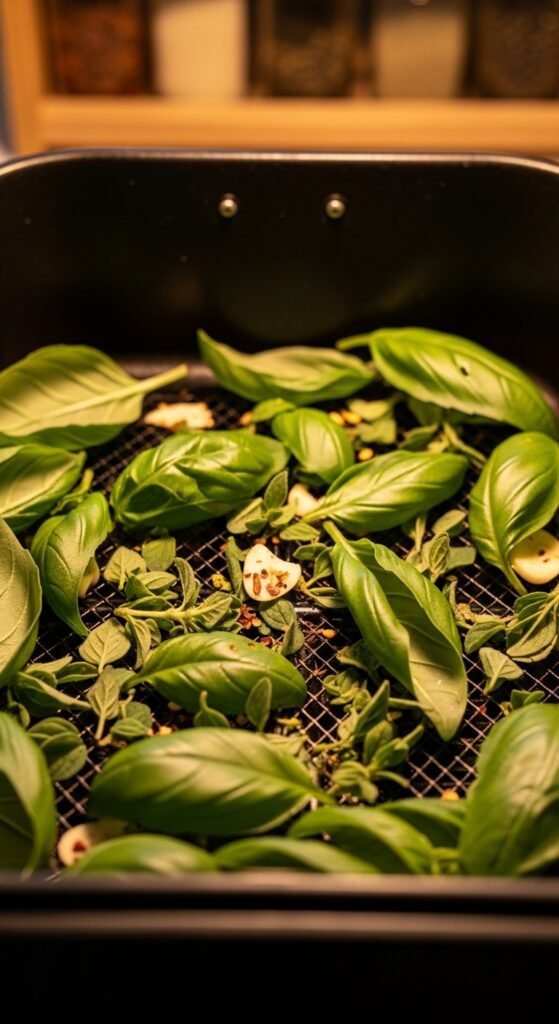
Select herbs with similar drying times, monitor for evenness. Relate to drying herbs at home for broader methods.
12) Low-Temperature Long-Dry for Delicates
You employ an 85°F setting for 3-4 hours on sensitive herbs, allowing gradual moisture evaporation to protect volatile compounds.
Ideal for preserving subtle flavors in herbs like tarragon. Maximizes aroma retention for gourmet applications. Gentler than higher heat options.
Patience is key; check frequently. This complements storing dried herbs practices for longevity.
13) Infused with Citrus Zest
You combine herb leaves with lemon or orange zest, drying together at 95°F for 2 hours to impart citrus notes during dehydration.
Creates flavored herbs for teas or rubs. Enhances versatility in your pantry. Unique twist on standard drying.
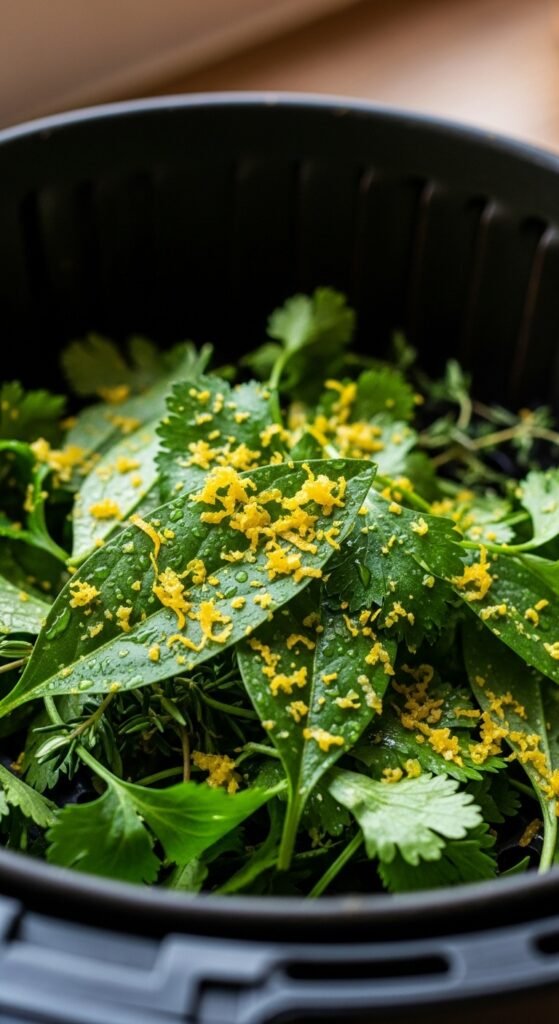
Grate zest finely, mix evenly. Draw from dehydrating lemon zest for preparation.
14) Post-Dry Oil Infusion Prep
You dry herbs at 100°F for 1 hour, then prepare for oil infusion by ensuring complete dryness to prevent spoilage.
Preps herbs for flavored oils, extending culinary uses. Ensures safety and flavor purity. Essential step beyond basic drying.
Test for moisture absence, store temporarily. Connect to freezing fresh herbs as an alternative preservation.
15) Tea Herb Specific Drying
You target herbs like chamomile or peppermint, drying at 90°F for 1.5 hours to optimize for infusion strength in teas.
Preserves therapeutic qualities for herbal brews. You obtain potent, aromatic results for wellness. Tailored for beverage focus.
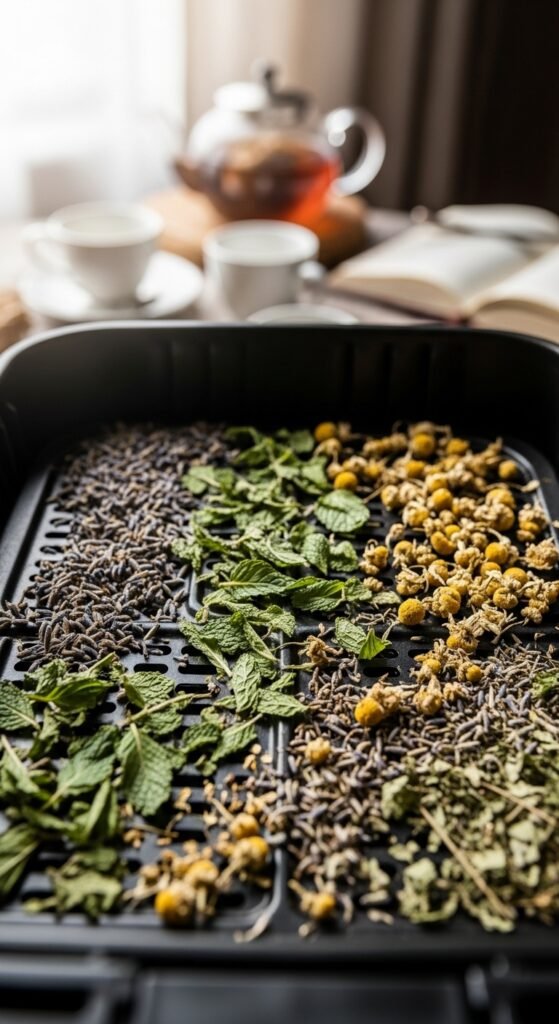
Select bloom-stage herbs, crumble post-dry. Incorporate tea herbs to grow for sourcing.
Key Principles for Success
Selecting Fresh Herbs
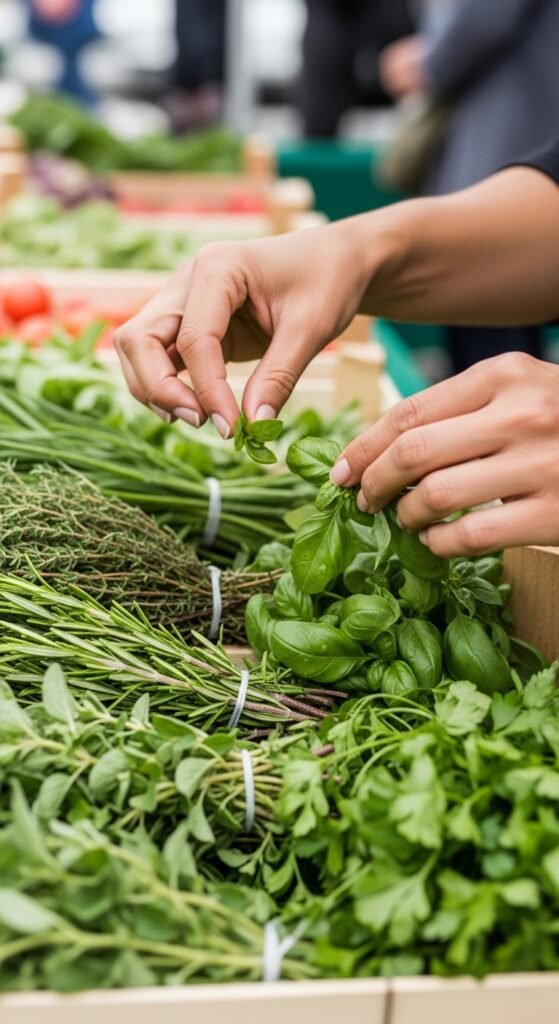
You prioritize harvesting herbs in the morning when essential oils are at their peak, ensuring optimal flavor for drying.
Temperature and Time Management

You adjust settings based on herb type, starting low to prevent scorching and extending time for thicker leaves.
Storage Best Practices
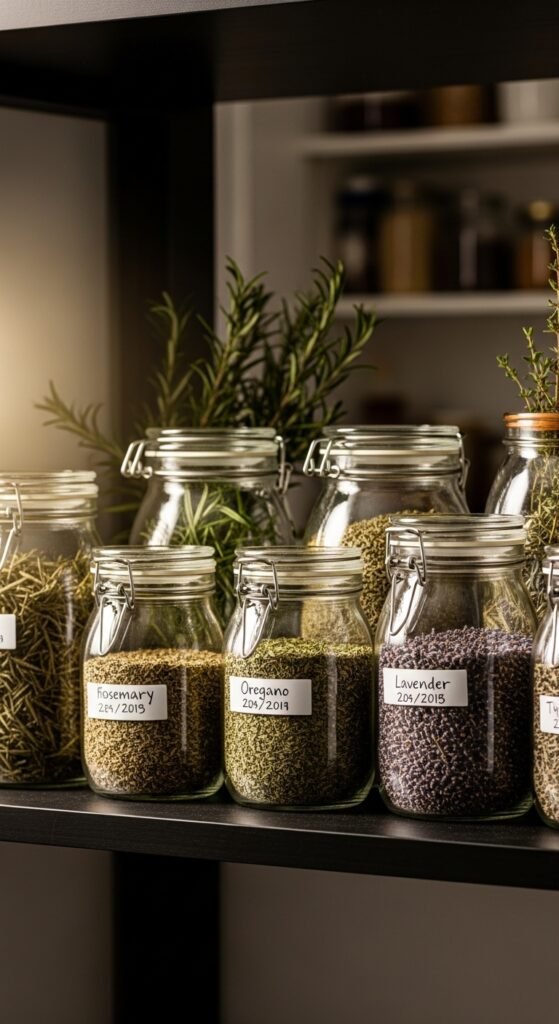
You use glass jars in cool, dark places to maintain potency, labeling with dates for freshness tracking.
Frequently Asked Questions
Can any air fryer model be used for drying herbs?
Most air fryer models work well, provided they have a low-temperature setting around 90-100°F. Basket-style fryers offer better airflow for even drying.
How do I know when the herbs are fully dried?
Herbs are ready when they crumble easily between your fingers without any flexibility, indicating complete moisture removal.
Is pre-washing herbs necessary before drying?
Yes, gently wash and thoroughly pat dry to remove dirt and pests, preventing contamination during the drying process.
Can I dry mixed herbs together?
Yes, if they have similar drying requirements, but monitor closely to avoid over-drying more delicate varieties.
What is the shelf life of air fryer-dried herbs?
Properly stored, they can last up to one year, though flavor is best within six months.