

Drying herbs at home is a simple yet effective way to extend the shelf life of your fresh garden produce, allowing you to enjoy their flavors and aromas year-round. By removing moisture, you prevent mold and bacterial growth while concentrating the essential oils that give herbs their distinctive taste. This method is particularly useful if you have an abundant harvest from your herb garden, ensuring nothing goes to waste.
Whether you are a seasoned gardener or just starting out, drying herbs at home requires minimal equipment and can be adapted to your available space and resources. The process not only saves money compared to buying dried herbs but also lets you control the quality, avoiding preservatives often found in store-bought varieties. With the right techniques, you can maintain the potency and color of your herbs for months.
Explore these 15 ideas to find the best methods suited to your needs, from traditional air drying to modern appliance-assisted options. Each approach offers unique benefits, helping you achieve professional results in your own kitchen.
1) Traditional Air Drying Bundles
You can start by gathering fresh herbs like basil or rosemary into small bundles, securing them with twine. Hang these upside down in a warm, dry area away from direct sunlight to prevent fading of colors and loss of essential oils. This method relies on natural airflow to gradually remove moisture over one to two weeks.
The appeal lies in its simplicity and low cost, requiring no special tools while preserving the herbs’ natural flavors effectively. It’s ideal for larger quantities from your herb garden for beginners, allowing you to stock up for culinary uses throughout the year.
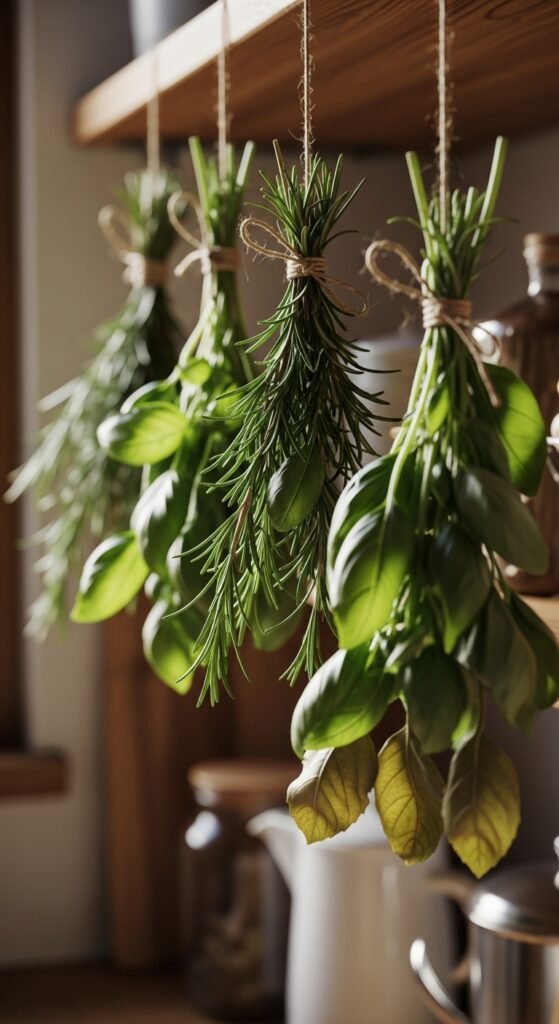
To execute this, harvest herbs in the morning after dew evaporates, ensuring they are clean and dry. Space bundles apart for better circulation, and check periodically for dryness by crumbling leaves. Once brittle, store in airtight containers away from light to maintain quality for up to a year.
2) Oven Drying on Low Heat
Place washed and patted-dry herb sprigs on a baking sheet lined with parchment paper. Set your oven to the lowest temperature, around 180°F (82°C), and leave the door slightly ajar to allow moisture to escape. Dry for two to four hours, turning occasionally for even results.
This technique is faster than air drying, making it suitable when you need dried herbs quickly for recipes or infusions. It works well for sturdy herbs like thyme or oregano, concentrating their flavors without significant nutrient loss.
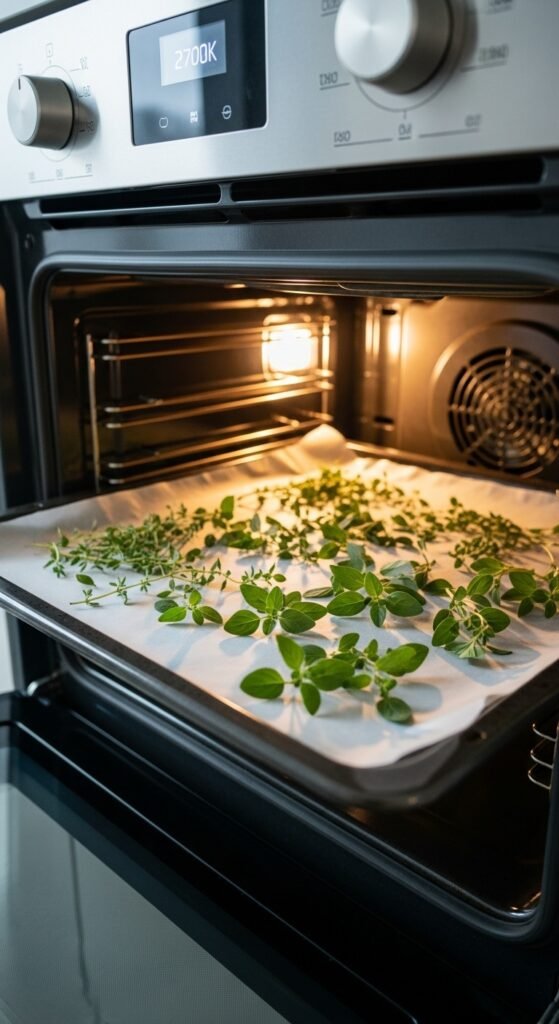
Monitor closely to avoid overheating, which can degrade oils. After cooling, strip leaves from stems and store properly. Combine this with growing tips from your basil growing tips to ensure a steady supply of home-dried seasonings.
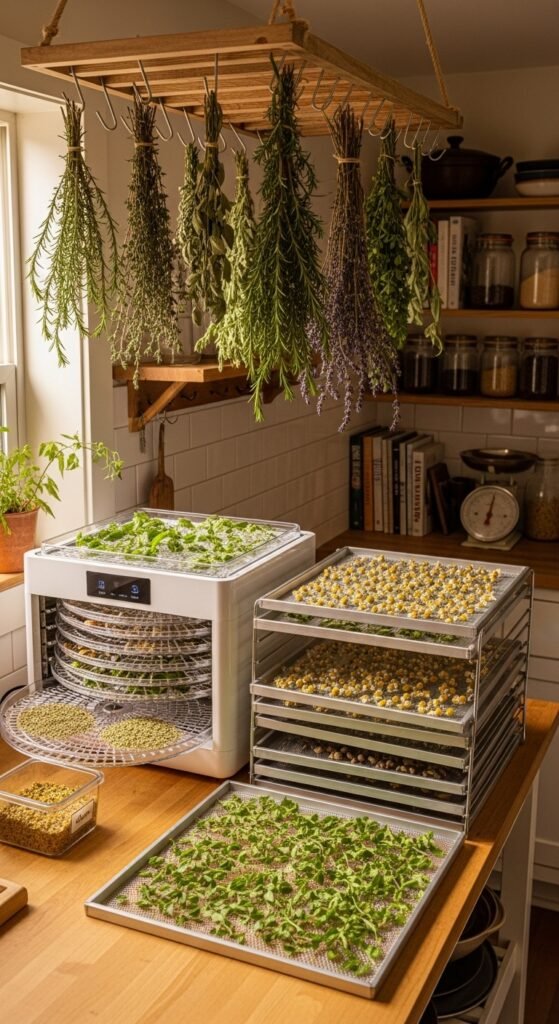
3) Using a Food Dehydrator
Arrange single layers of herb leaves or sprigs on dehydrator trays, ensuring no overlap for optimal airflow. Set the temperature between 95°F and 115°F (35°C to 46°C) and run for one to four hours, depending on herb type and humidity levels.
Dehydrators provide consistent results with controlled heat and circulation, preserving more nutrients and color compared to other methods. They are efficient for batch processing, especially if you harvest frequently from your garden.
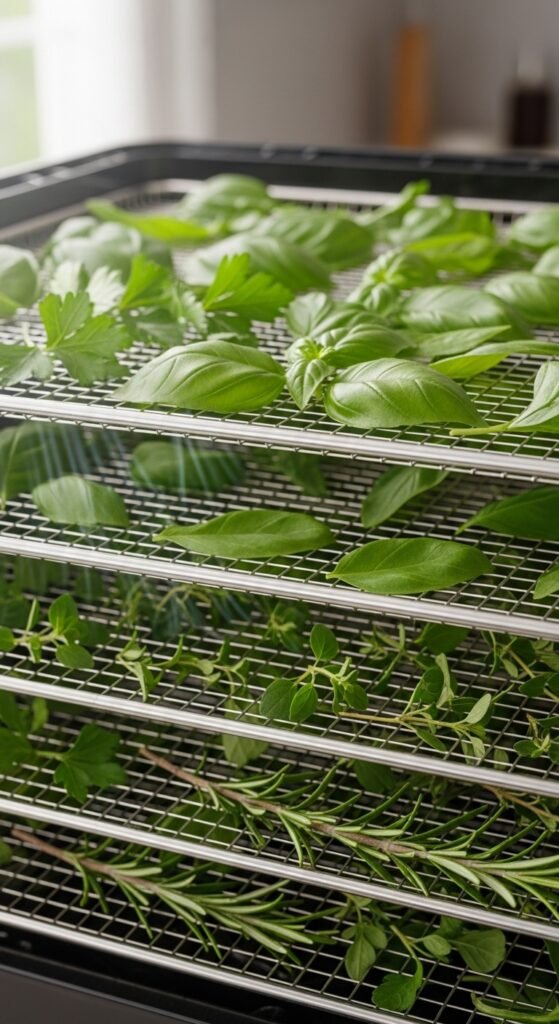
Check for crispness before storing; brittle leaves indicate readiness. This method pairs excellently with harvesting herbs strategies to maximize your yield and minimize waste.
4) Microwave Drying in Short Bursts
Lay herb leaves between two paper towels on a microwave-safe plate. Heat on high for 30-second intervals, checking and flipping each time until dry, typically one to three minutes total.
Ideal for small quantities, this quick method retains potent flavors when you need dried herbs immediately for cooking or teas. It’s convenient for apartment dwellers without outdoor space.
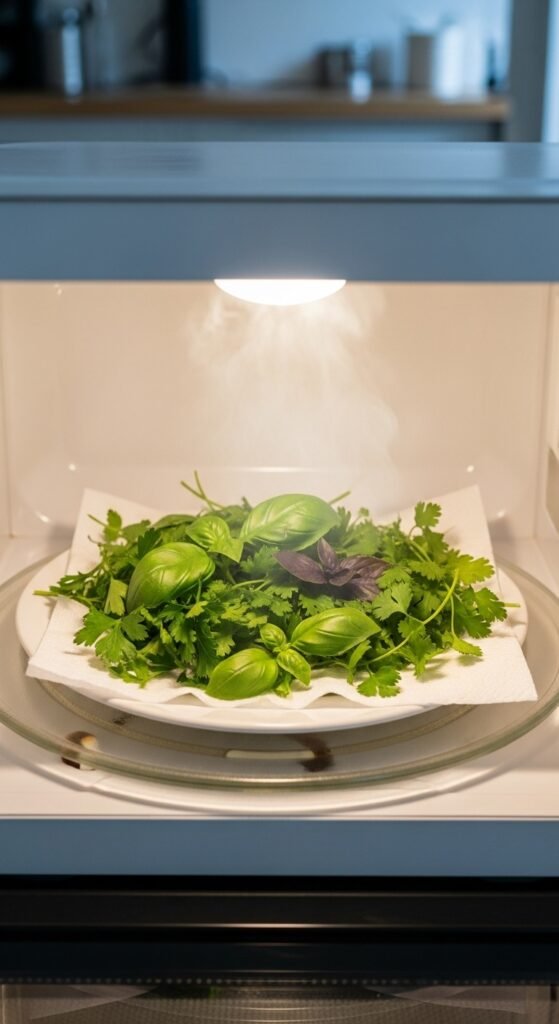
Avoid overcrowding to prevent uneven drying. Once cool, crumble and store. Integrate this with companion planting from companion planting herbs to enhance your herb variety.
5) Sun Drying on Screens
Spread herbs on mesh screens or cheesecloth in a sunny, well-ventilated spot outdoors, covering lightly to protect from dust and insects. Turn daily for even exposure, completing in two to four days.
This natural approach harnesses solar energy, imparting a subtle depth to flavors while being energy-efficient. It’s best for regions with low humidity and ample sunshine.
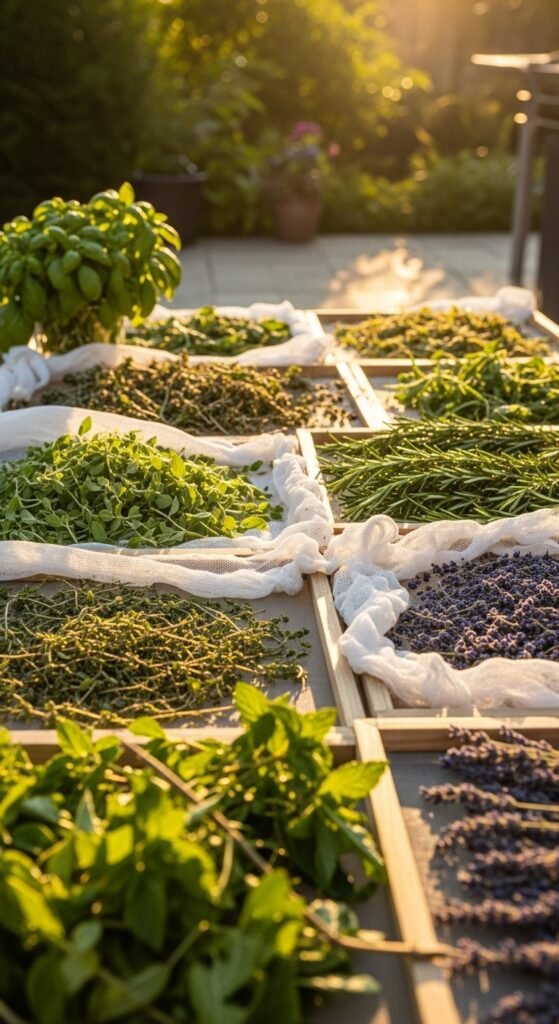
Bring indoors at night to avoid dew. Store promptly upon drying. Consider this alongside designing your herb garden design ideas for optimal sun placement.
6) Hanging in Paper Bags
Insert herb bundles stem-up into paper bags, punching holes for ventilation, and hang in a dark, airy room. The bags collect falling leaves and shield from light, drying in one to two weeks.
This protects against dust while allowing airflow, preserving delicate herbs like parsley without bruising. It’s a space-saving option for indoor drying.
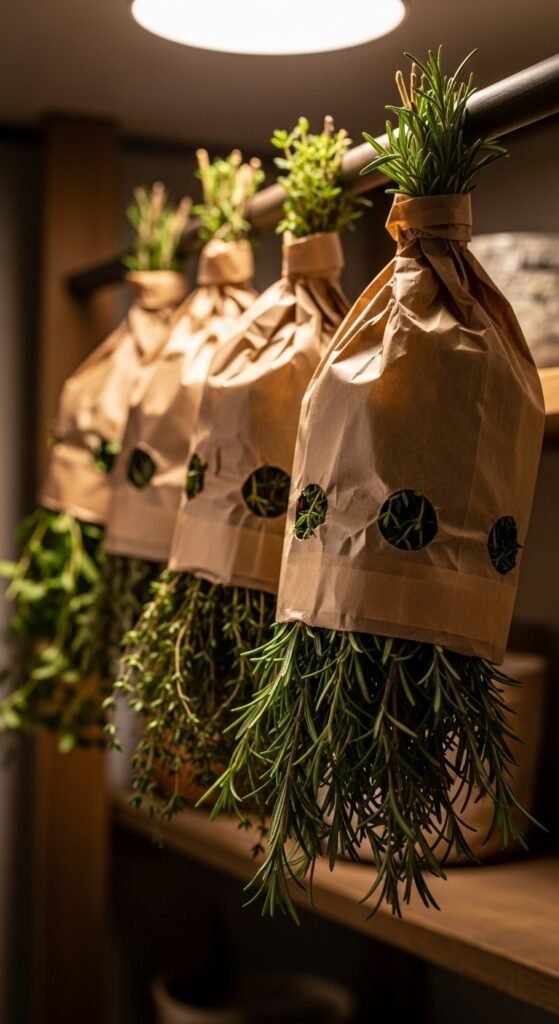
Shake bags gently to dislodge leaves. This method complements raised bed herb garden setups by handling surplus harvests efficiently.
7) Flat Drying on Racks
Lay herb stems or leaves in a single layer on drying racks or window screens in a warm, shaded area. Ensure good air circulation by elevating racks, drying in three to seven days.
Suitable for fragile herbs, this prevents molding by promoting even moisture evaporation. It maintains shape and color better than bunching methods.
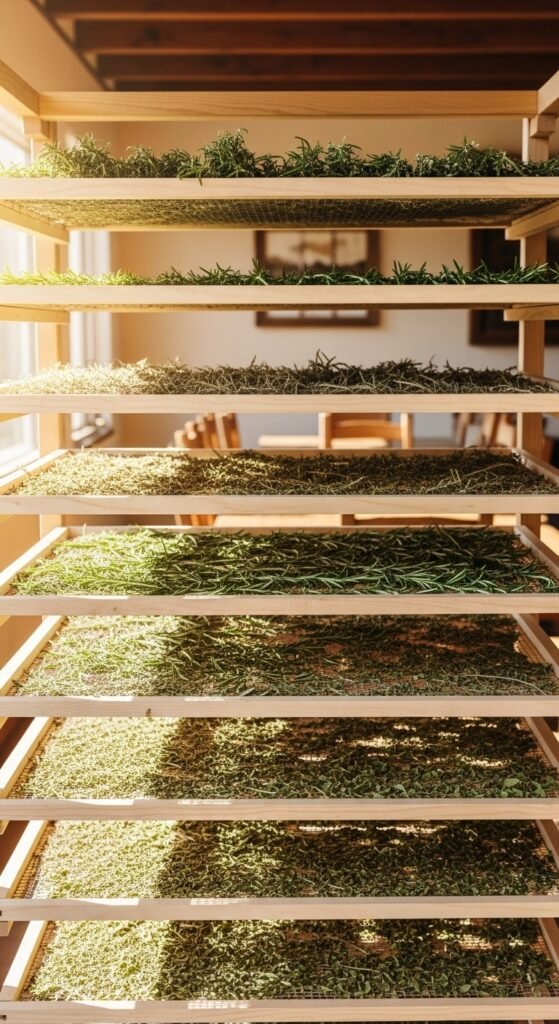
Flip occasionally for uniformity. Pair with spiral herb garden layouts to dry diverse herbs from compact spaces.
8) Using a Fan for Assisted Air Drying
Position herb bundles or screens in front of a gentle fan in a dry room, promoting faster evaporation without heat. Dryness achieves in four to seven days with constant airflow.
This accelerates traditional methods, ideal for humid climates where natural drying is slow. It preserves volatile oils effectively.
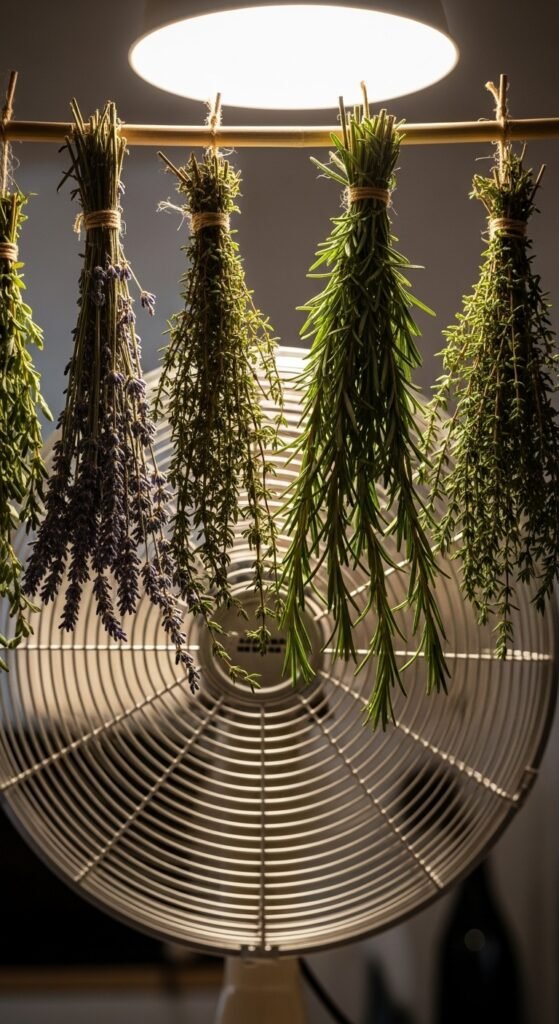
Avoid high speeds to prevent scattering. This technique enhances herb drying rack DIY projects for customized setups.
9) Warm Room Dehumidifier Method
Place herbs on trays in a room with a dehumidifier running, pulling moisture from the air to aid drying over several days. Maintain room temperature around 70°F (21°C).
Effective in damp environments, this controls humidity levels for consistent results without additional heat sources.
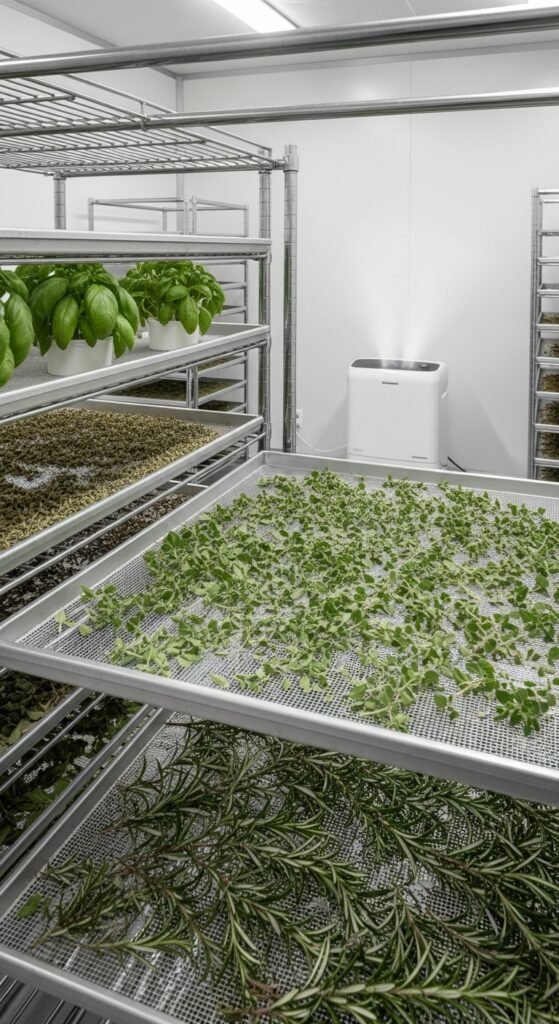
Empty dehumidifier regularly. Combine with storage advice from storing dried herbs to extend shelf life post-drying.
10) Silica Gel Desiccant Drying
Bury clean herb leaves in a container of silica gel, sealing and checking after three to five days until crisp. Gently brush off gel residue before storing.
This preserves color and shape exceptionally well, suitable for culinary or decorative uses. It’s a non-heat option for sensitive herbs.
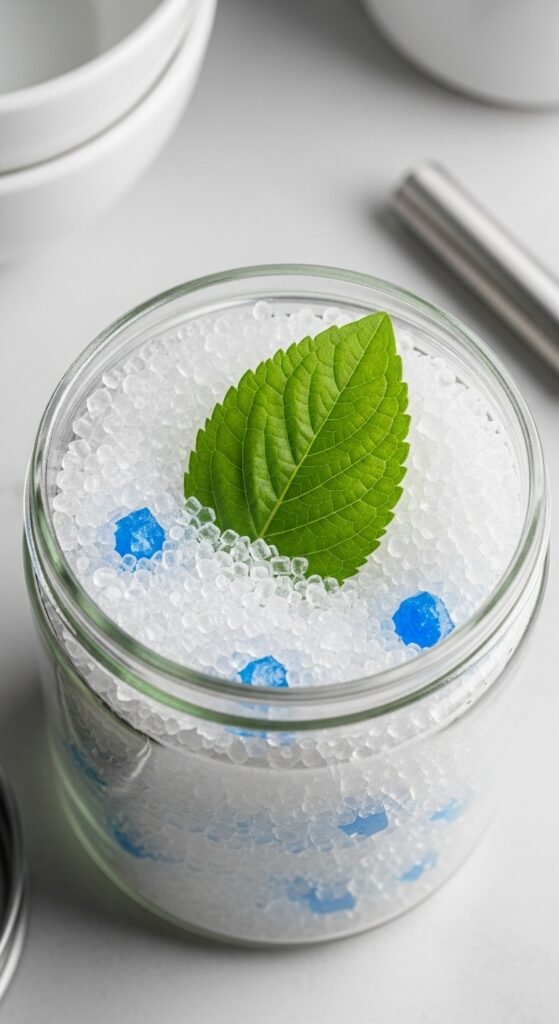
Reuse gel by baking to dry. Align this with freezing fresh herbs as an alternative preservation method.
11) Air Fryer Quick Drying
Spread herb leaves in the air fryer basket, setting to the lowest temperature (around 100°F or 38°C) for 30 minutes to an hour, shaking midway.
Convenient for modern kitchens, this circulates hot air efficiently, retaining flavors in a fraction of traditional time.
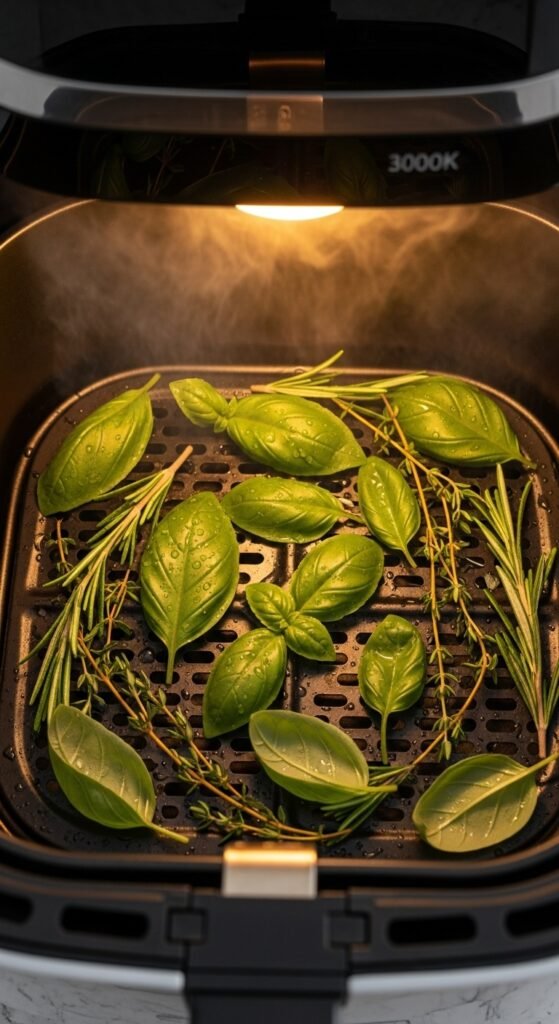
Avoid overcrowding. Explore more in drying herbs in air fryer for detailed tips.
12) Solar Dehydrator DIY Setup
Construct a simple solar box with screens and vents, placing herbs inside to harness sun heat for drying over sunny days. Position for maximum exposure.
Eco-friendly and cost-free operation, this method intensifies natural essences using renewable energy.
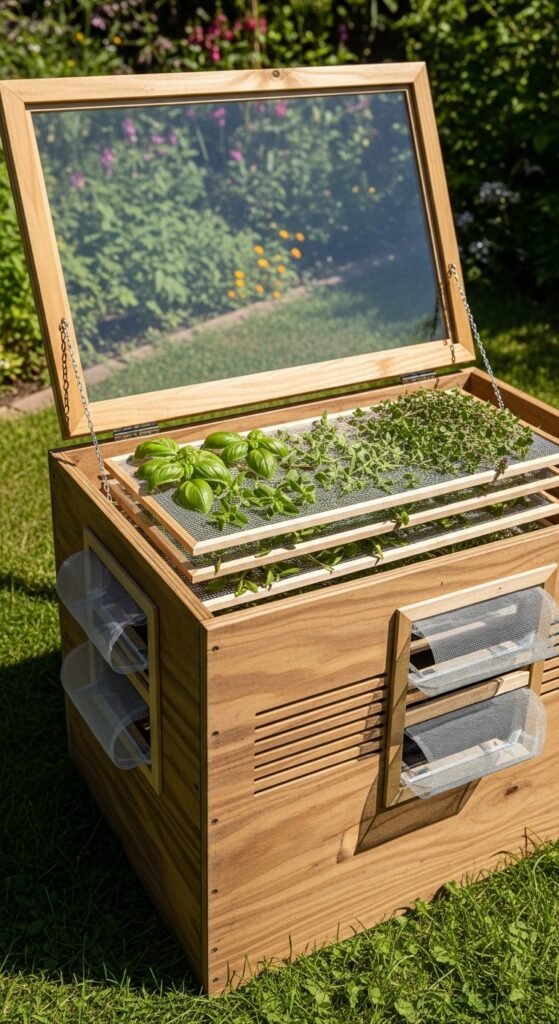
Monitor temperature to stay below 115°F (46°C). This fits well with sustainable practices in your herb cultivation routine.
13) Freezer Drying Technique
Freeze herbs on a tray until solid, then transfer to a freezer bag, allowing sublimation over weeks in the freezer for a freeze-dried effect.
Retains vibrant color and nutrients better than heat methods, though slower; great for long-term storage.
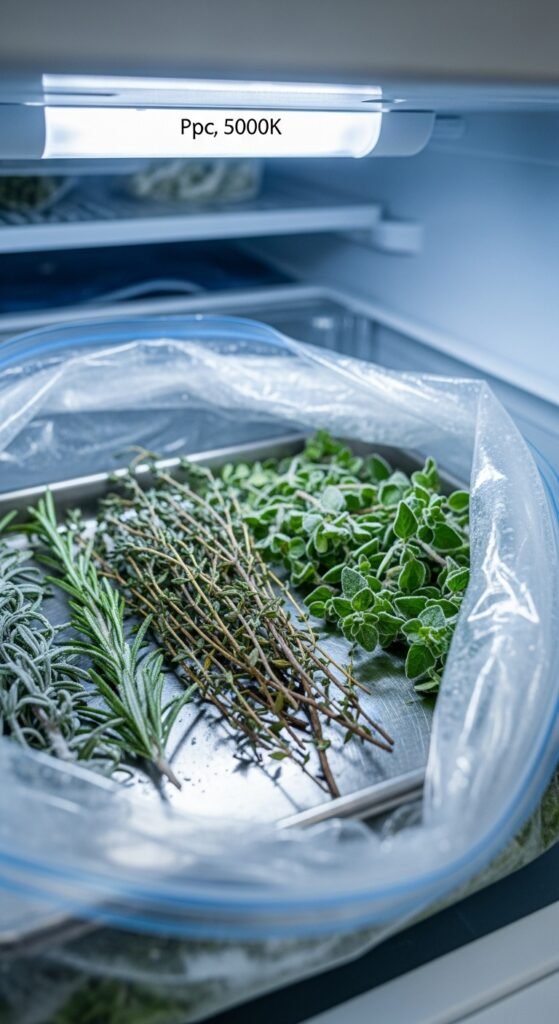
Use within months for best quality. This alternative complements standard drying for variety in preservation.
14) Herb Pressing for Flat Drying
Place herbs between absorbent papers under heavy books, changing papers daily until dry in one week. Suitable for small batches.
Produces flat, preserved specimens for crafts or cooking, maintaining integrity without equipment.
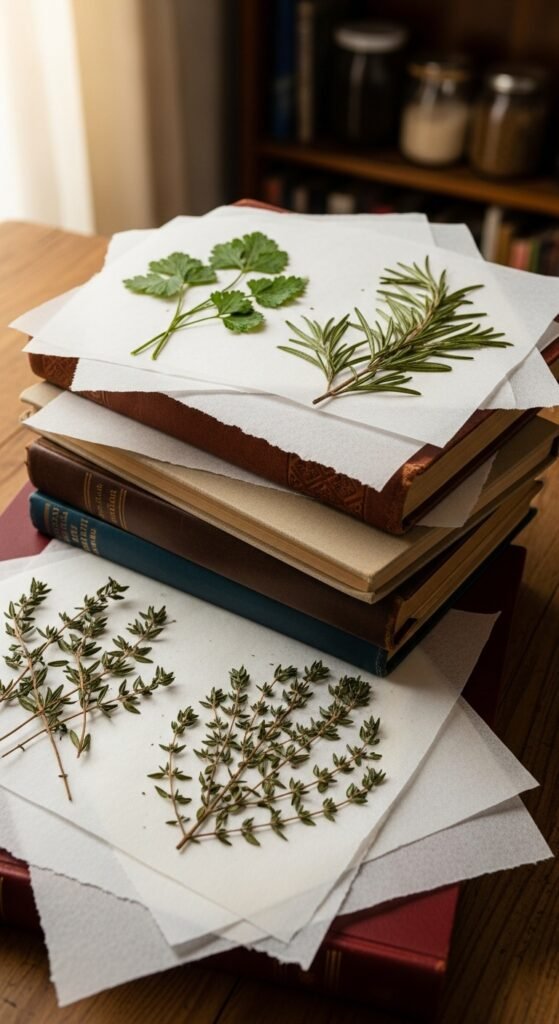
Ideal for decorative purposes alongside culinary uses.
15) Combination Drying Methods
Start with air drying for a day, then finish in a dehydrator for efficiency. Adjust based on herb type and conditions for optimal results.
Customizes processes to your setup, ensuring thorough drying while minimizing time and energy use.
Experiment to find preferences, enhancing overall herb management from garden to pantry.
Key Principles for Successful Herb Drying
Timing Your Harvest
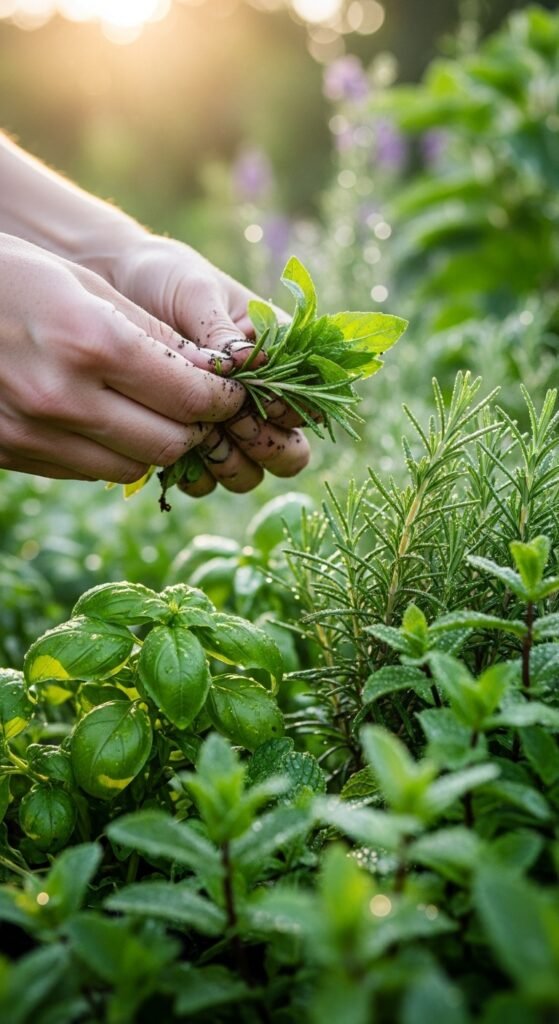
You should harvest herbs in the morning when oils are most concentrated, avoiding wet conditions to prevent mold during drying.
Maintaining Quality
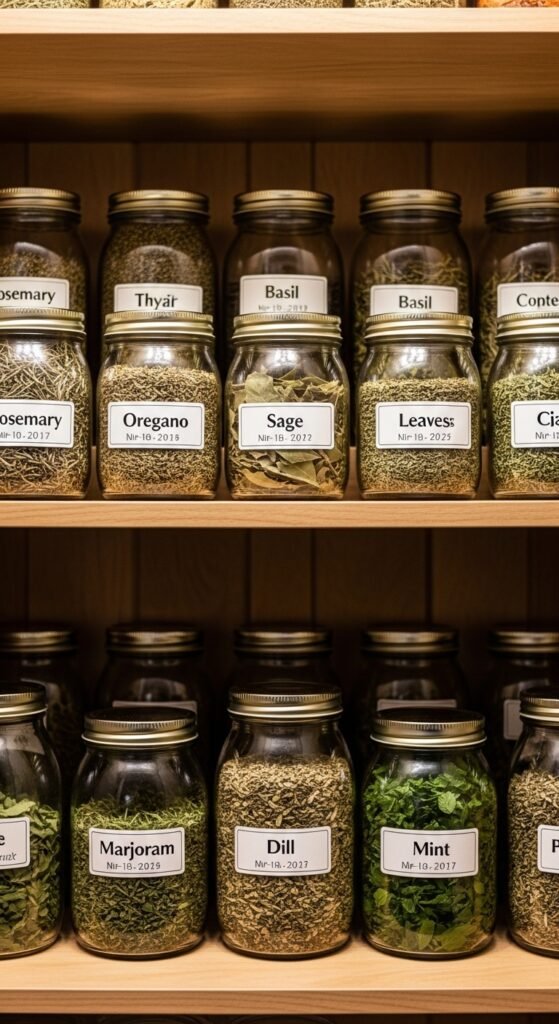
Store dried herbs in cool, dark places in airtight jars to preserve potency, labeling with dates for freshness tracking.
Troubleshooting Common Issues
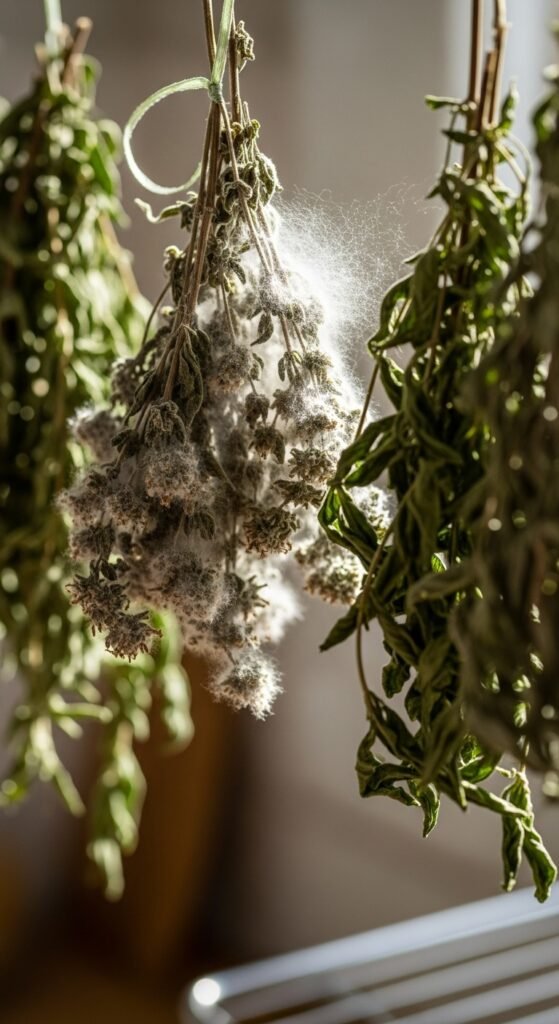
If herbs mold, increase airflow or reduce humidity; for color loss, avoid direct light throughout the process.
Frequently Asked Questions
How long do dried herbs last?
Dried herbs typically retain their flavor for six months to a year when stored properly in airtight containers away from heat and light.
Can I dry herbs in high humidity?
Yes, but use methods like dehydrators or dehumidifiers to control moisture levels and prevent mold formation during the process.
Which herbs dry best at home?
Sturdy herbs like rosemary, thyme, and oregano dry exceptionally well, while delicate ones like basil may require gentler techniques.
Is it necessary to wash herbs before drying?
Washing removes dirt but ensure thorough drying afterward to avoid excess moisture that could lead to spoilage.
Can I use dried herbs interchangeably with fresh?
Yes, but use one-third the amount of dried herbs as fresh, since drying concentrates the flavors significantly.