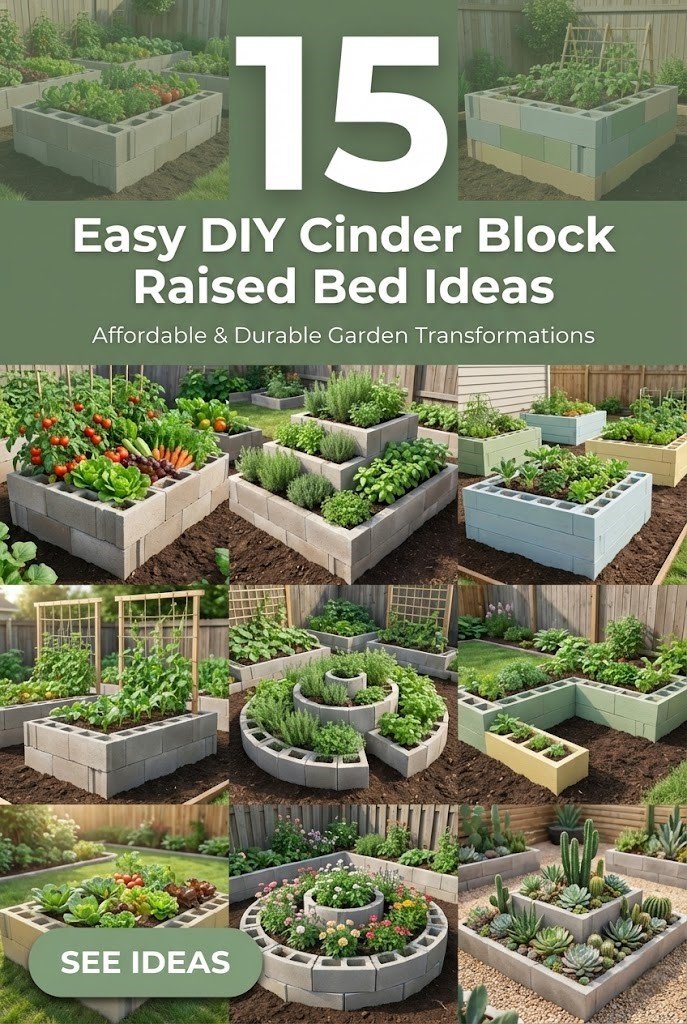
Cinder block raised beds offer a practical and affordable solution for gardeners seeking to elevate their planting spaces. Constructed from durable concrete blocks, these structures provide excellent drainage, soil containment, and accessibility, making them ideal for various garden settings. You can easily customize their size and shape to fit your yard, ensuring optimal growth conditions for vegetables, herbs, and flowers while minimizing weed intrusion and soil compaction.
The value of cinder block raised beds lies in their longevity and versatility. Unlike wooden alternatives, they resist rot and pests, offering a long-term investment for your gardening endeavors. Additionally, their modular design allows for creative configurations that enhance both functionality and aesthetics in your outdoor space. By incorporating these beds, you promote healthier plants through better soil management and ergonomics, reducing strain during maintenance tasks.
1) Basic Stacked Configuration
You begin with the fundamental approach by stacking cinder blocks in a rectangular formation to create a simple raised bed. This method involves arranging the blocks in rows, typically two to three high, to form walls that enclose your planting area. What makes this appealing is its straightforward assembly without needing specialized tools or skills.
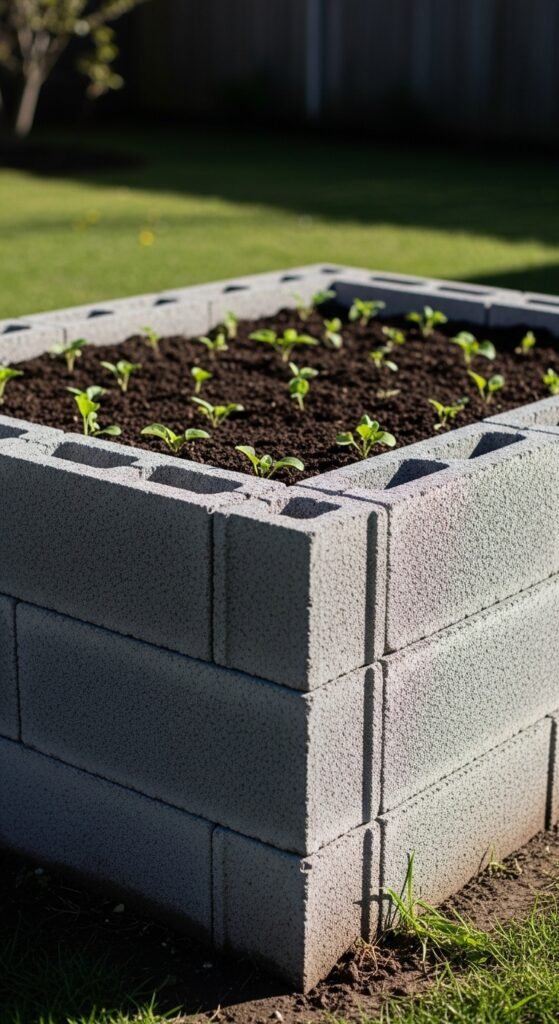
Why choose this? It provides superior drainage and warmer soil temperatures, fostering robust plant roots. The elevation also deters common garden pests. How to implement: Select a level site, lay the first layer of blocks, ensure stability by offsetting subsequent layers like bricks, and fill with a nutrient-rich soil mix. For added protection in sunny areas, consider integrating a shade cloth for gardens to regulate exposure.
2) Tiered Multi-Level Design
You can elevate your garden’s visual appeal with a tiered cinder block raised bed, where blocks are stacked at varying heights to create stepped levels. This configuration resembles a pyramid or staircase, allowing for diverse planting zones within a compact space.
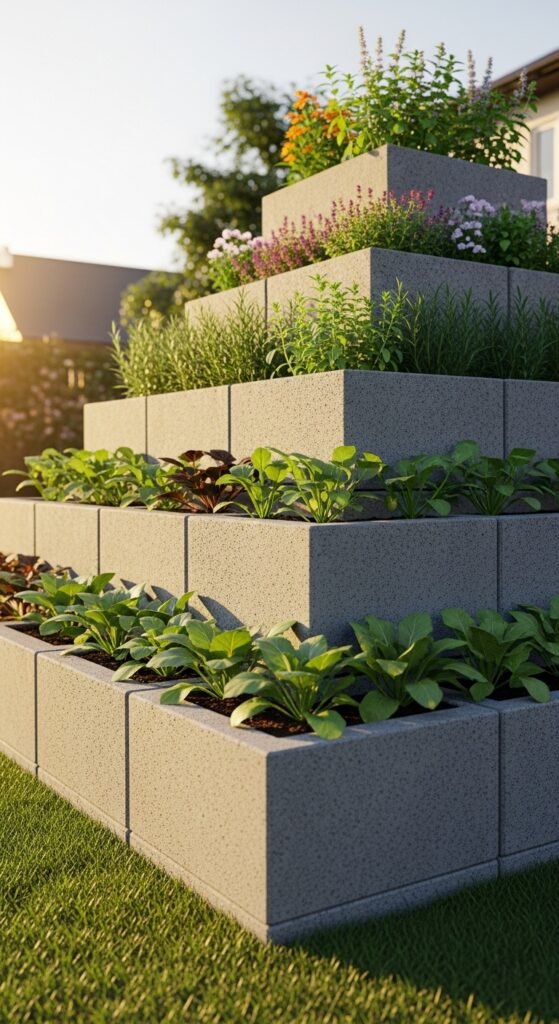
The primary benefit is maximized vertical space and improved accessibility for harvesting. It also facilitates better water flow from upper to lower tiers. To build it, start with the widest base layer, gradually narrowing each subsequent tier while securing blocks firmly. Incorporate companion planting strategies inspired by permaculture guilds to enhance biodiversity and yield in each level.
3) Integrated Bench Seating
You incorporate functionality by designing cinder block raised beds with built-in benches, using extended blocks or wooden planks atop the walls for seating. This hybrid structure serves as both a planting area and a resting spot in your garden.
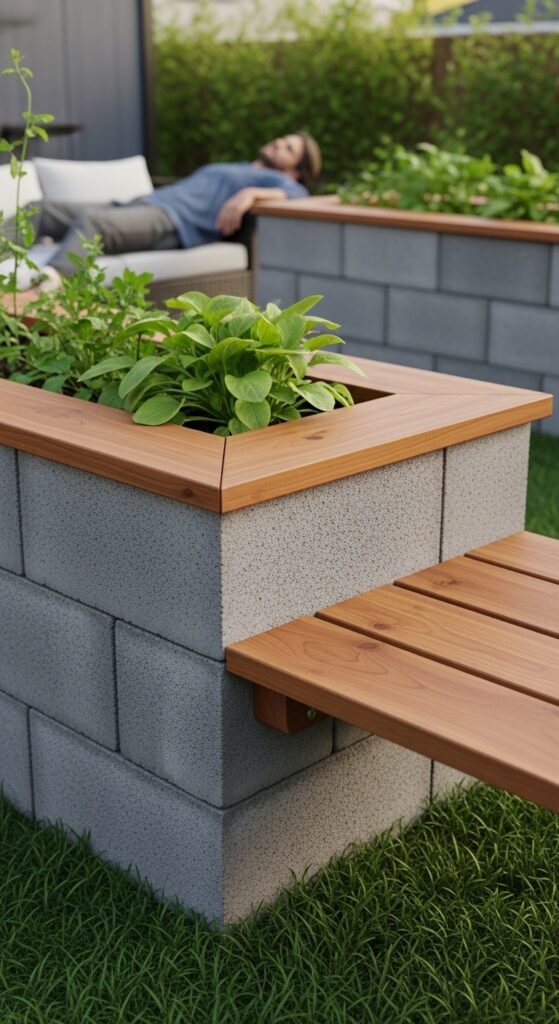
Why opt for this? It offers convenient relaxation amid your greenery, encouraging more time spent outdoors. The setup promotes ergonomic gardening by reducing bending. Construct by reinforcing the bed’s perimeter with extra blocks for bench supports, then add smooth tops. Pair it with nearby pallet compost bin for easy access to nutrient amendments.
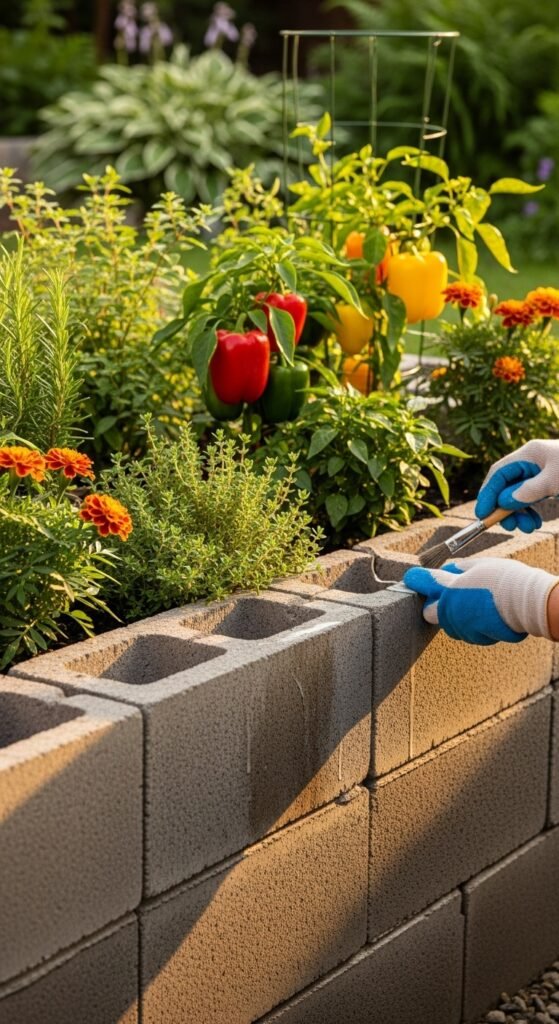
4) Painted Aesthetic Enhancement
You transform plain cinder blocks into vibrant features by applying exterior-grade paint to your raised beds. Choose colors that complement your garden theme, such as earthy tones or bold accents, to add personality.
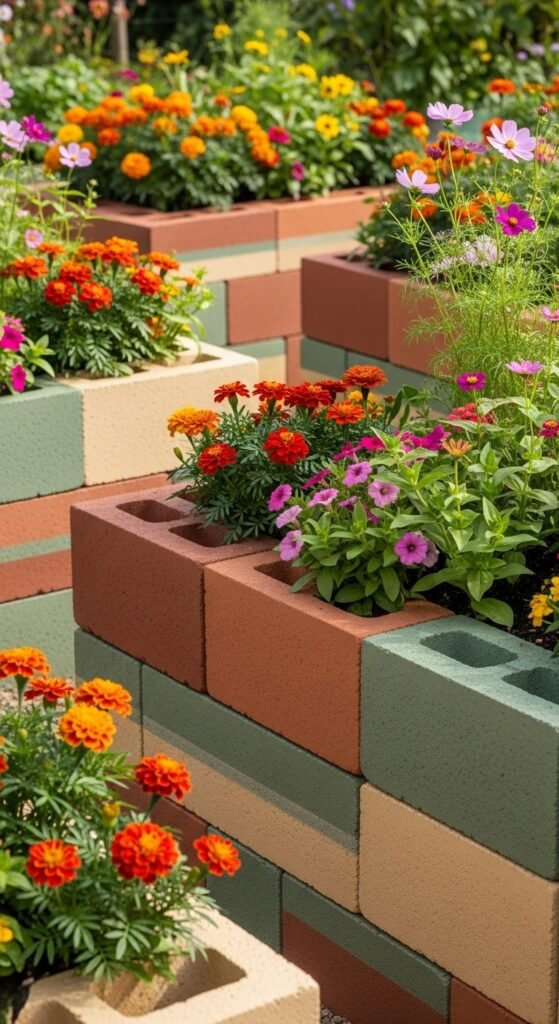
This idea shines because it delivers customized visual appeal and weather protection, extending the blocks’ lifespan. Painting also helps in heat regulation for plants. Apply after assembling the bed: Clean surfaces, prime if needed, and coat evenly. For a cohesive look, draw inspiration from upcycled designs like a bathtub flower bed.
5) Trellis-Supported Climbers
You enhance vertical growth by attaching trellises to your cinder block raised beds, supporting vines and climbing plants. Use metal or wooden frames secured into the block holes for stability.
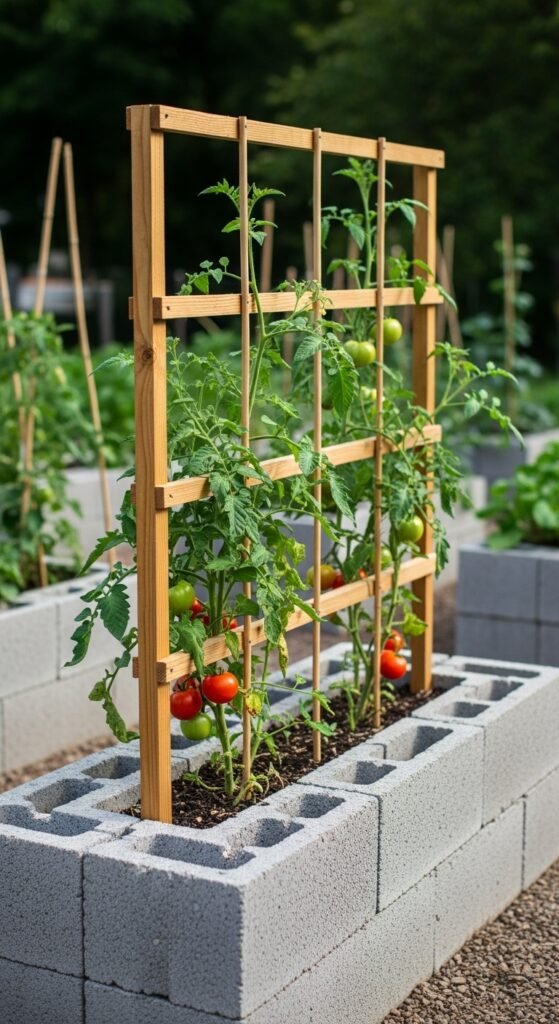
The advantage includes increased yield in limited spaces and better air circulation to prevent diseases. It’s perfect for crops like tomatoes or cucumbers. Install by embedding trellis posts in the soil within blocks, then train plants upward. Explore similar structural ideas in garden trellis ideas for customization.
6) Herb-Focused Spiral Layout
You create a spiral-shaped cinder block raised bed tailored for herbs, stacking blocks in a swirling pattern that rises toward the center. This compact design optimizes space for various herb varieties.
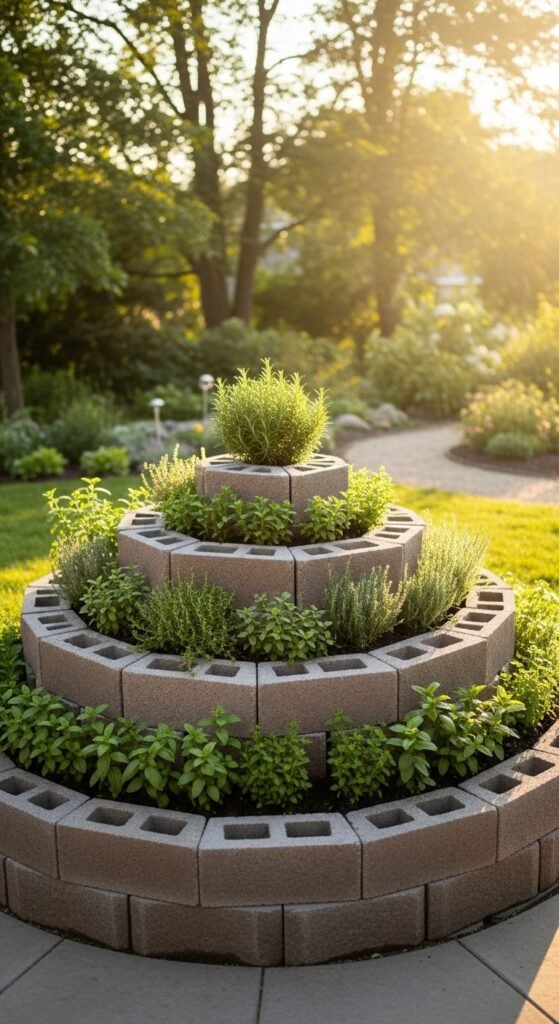
Why this works: It ensures varied microclimates for different herbs, with drier conditions at the top and moister at the base. The spiral aids in efficient watering. Build by outlining the shape on the ground, stacking progressively higher, and planting accordingly. Complement with mosquito-repelling options from mosquito-repelling plants.
7) Vegetable Patch with Caps
You cap your cinder block raised beds with flat stones or concrete slabs for a polished vegetable garden. This addition provides a clean edge and extra seating or workspace.
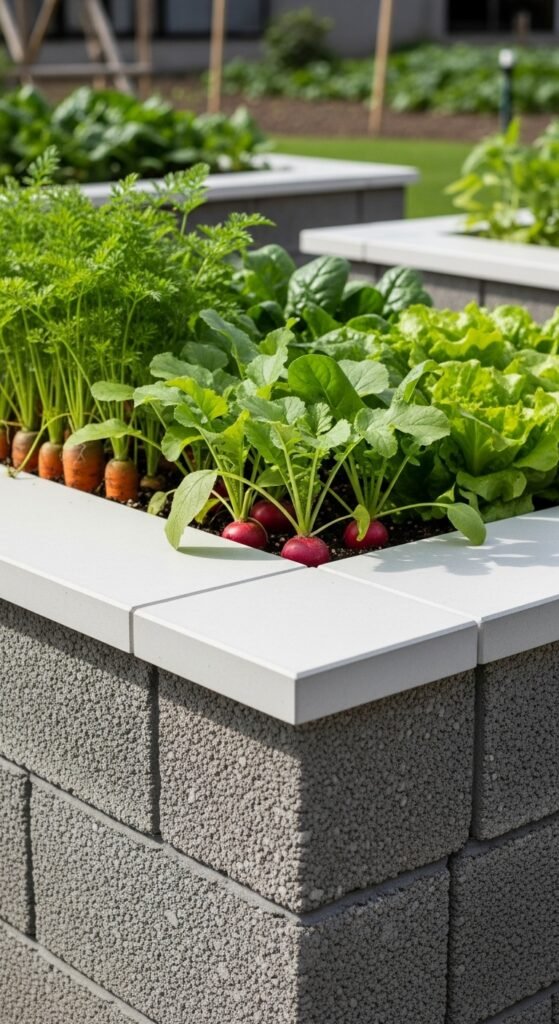
Key benefits encompass enhanced durability and pest deterrence, while caps prevent soil erosion. Ideal for root vegetables. Assemble the base structure, then secure caps with mortar if desired. For watering efficiency, integrate techniques from DIY rain barrel ideas.
8) Corner Garden Utilization
You maximize awkward yard corners by building L-shaped cinder block raised beds that hug the space. This configuration turns underused areas into productive gardens.
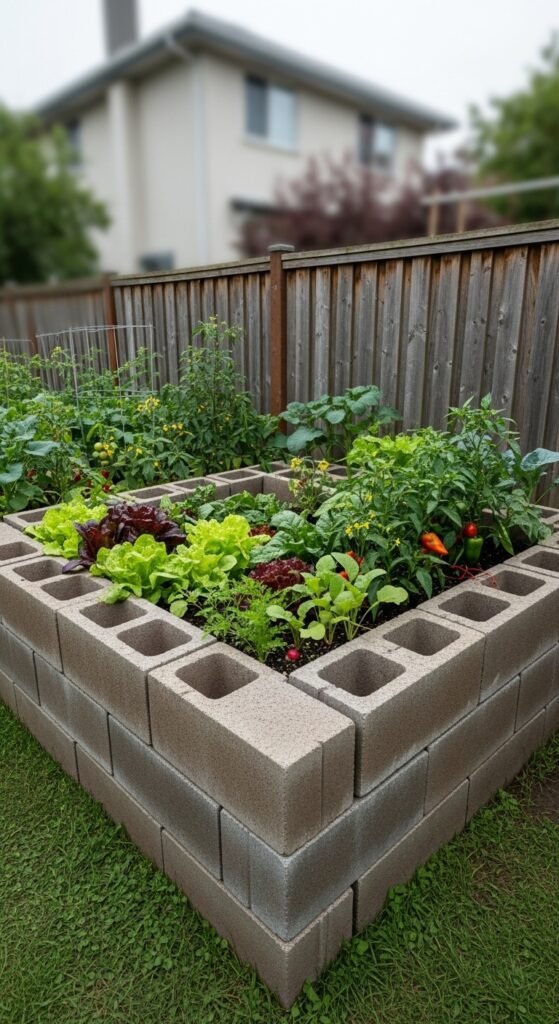
It excels in space optimization and aesthetic integration, blending seamlessly with fences or walls. The shape facilitates easy access. Construct by aligning blocks along two perpendicular lines, stacking uniformly. Enhance with protective covers akin to an old window cold frame for extended seasons.
9) Circular Enclosed Bed
You form a circular cinder block raised bed for a unique focal point, arranging blocks in a ring and filling the center with soil. This design promotes even sunlight distribution.
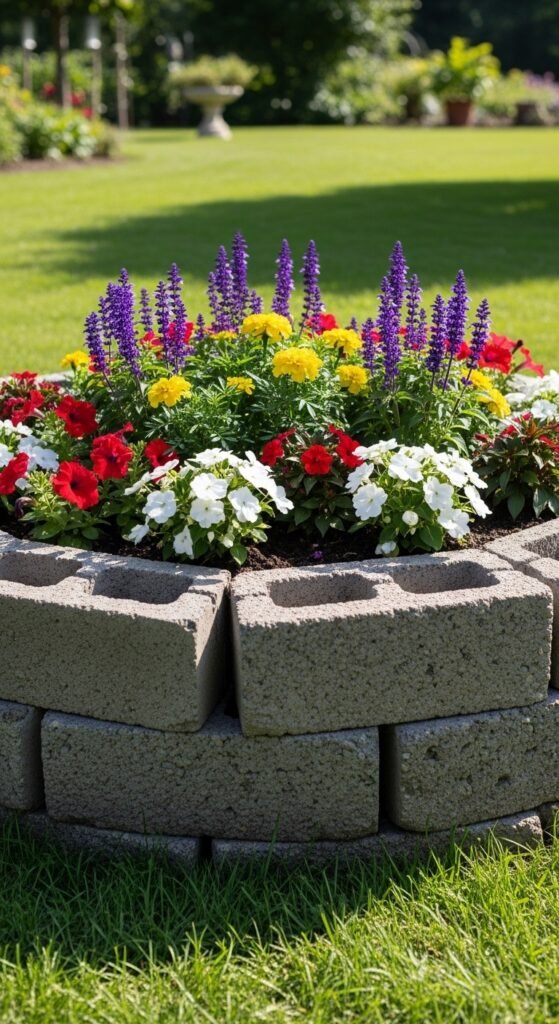
Advantages include improved soil warmth and creative planting patterns, suitable for flowers or mixed veggies. The curve adds visual interest. Create by marking a circle, placing blocks end-to-end, and stabilizing with rebar if needed. Draw parallels to efficient layouts like a keyhole garden.
10) Succulent-Filled Arrangement
You dedicate your cinder block raised bed to succulents, leveraging the blocks’ holes as individual planters alongside the main bed. This creates a drought-tolerant display.
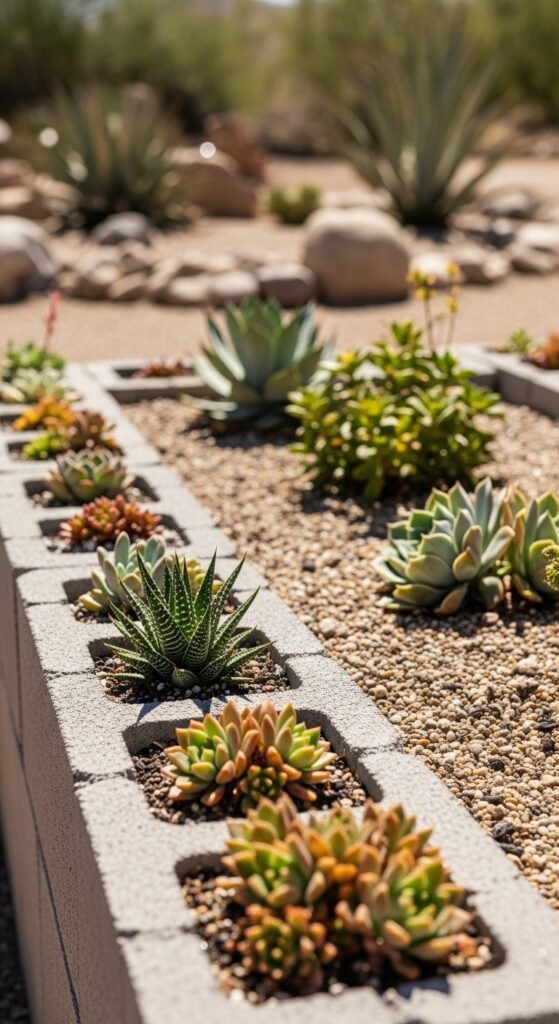
This choice provides low-maintenance beauty and water conservation, perfect for arid climates. Succulents thrive in the well-drained setup. Fill blocks with cactus mix, plant varieties, and mulch. For self-watering inspiration, reference wicking bed systems.
11) Vertical Stacked Towers
You stack cinder blocks vertically into tower-like raised beds, ideal for small spaces. Each level hosts plants, maximizing height over width.
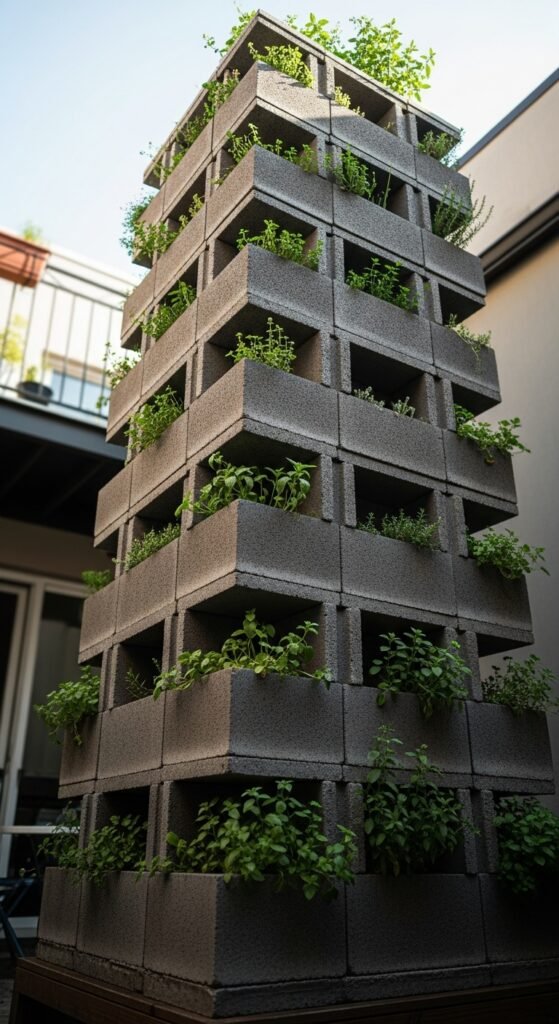
Why pursue this? It yields high-density planting and easy harvesting, great for urban gardens. Towers improve airflow. Build by securing stacks with rods, filling each compartment. Incorporate vertical concepts from a pallet vertical herb garden.
12) Irrigation-Integrated System
You embed drip irrigation lines within your cinder block raised beds for automated watering. Route tubing through block holes for discreet delivery.

The system ensures consistent moisture and water efficiency, reducing waste and labor. It’s essential for busy gardeners. Install after assembly: Lay lines, connect to a timer, and test flow. Augment with collection methods from rainwater harvesting ideas.
13) Eco-Friendly Filler Mix
You fill your cinder block raised beds with sustainable materials like compost, recycled soil, and organic amendments, emphasizing environmental responsibility.
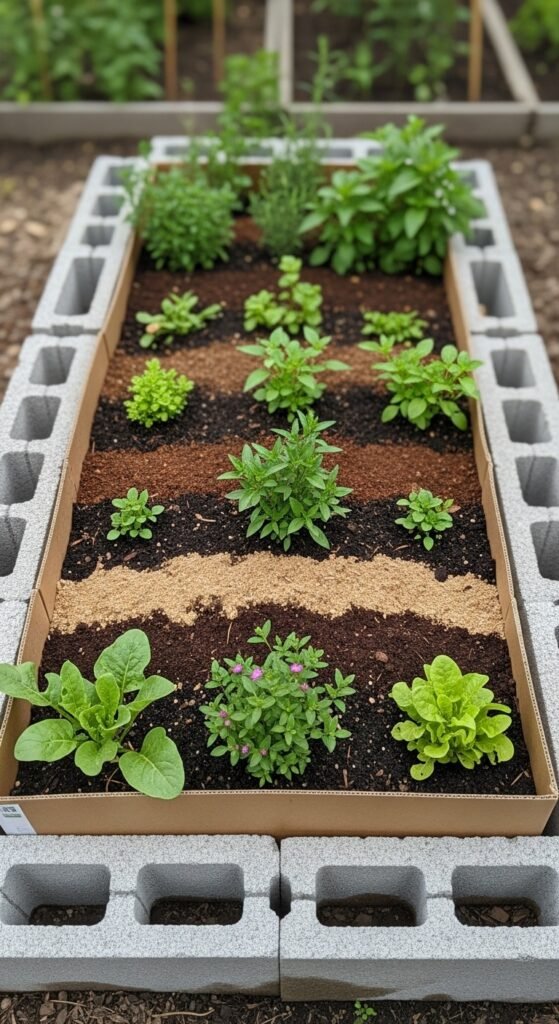
Benefits feature nutrient-rich growth medium and reduced ecological footprint. This approach supports healthy ecosystems. Layer materials: Bottom with cardboard for weeds, then soil blends. Boost with homemade compost from a compost at home setup.
14) Combined Compost Integration
You adjoin a compost section to your cinder block raised bed, using divided blocks to separate planting and composting areas.
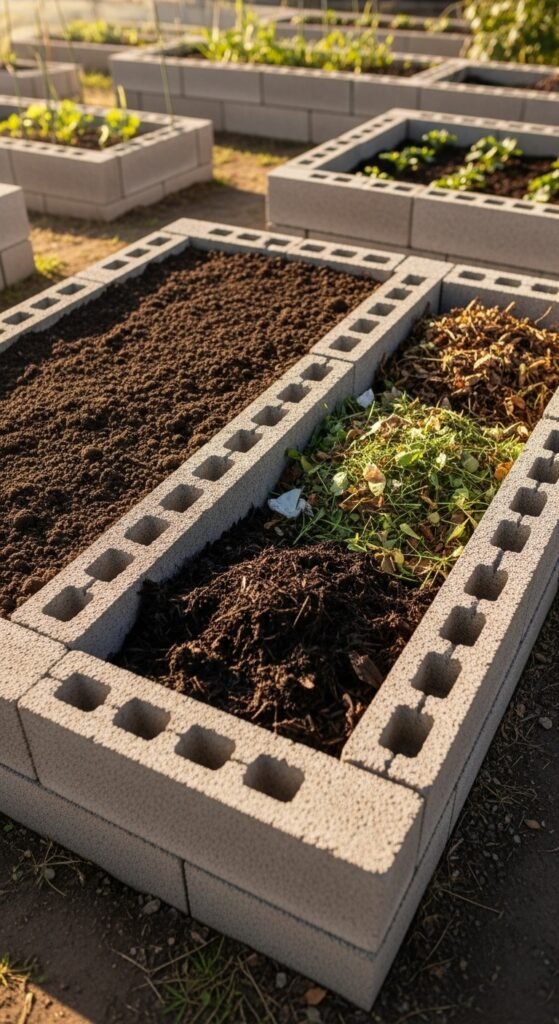
This integration offers on-site nutrient cycling and convenience, enriching soil directly. It promotes sustainable practices. Construct by extending the bed with a partitioned zone for compost. For bin ideas, consider a concrete block root cellar adaptation.
15) Themed Color Coordination
You coordinate your cinder block raised beds with themed colors and plant selections, such as monochromatic schemes or seasonal palettes.

It delivers cohesive garden design and enhanced curb appeal. Theming unifies your space. Paint blocks, select matching plants, and arrange thoughtfully. For additional decor, explore rain gutter planters as accents.
Key Principles for Building Cinder Block Raised Beds
Site Selection and Preparation
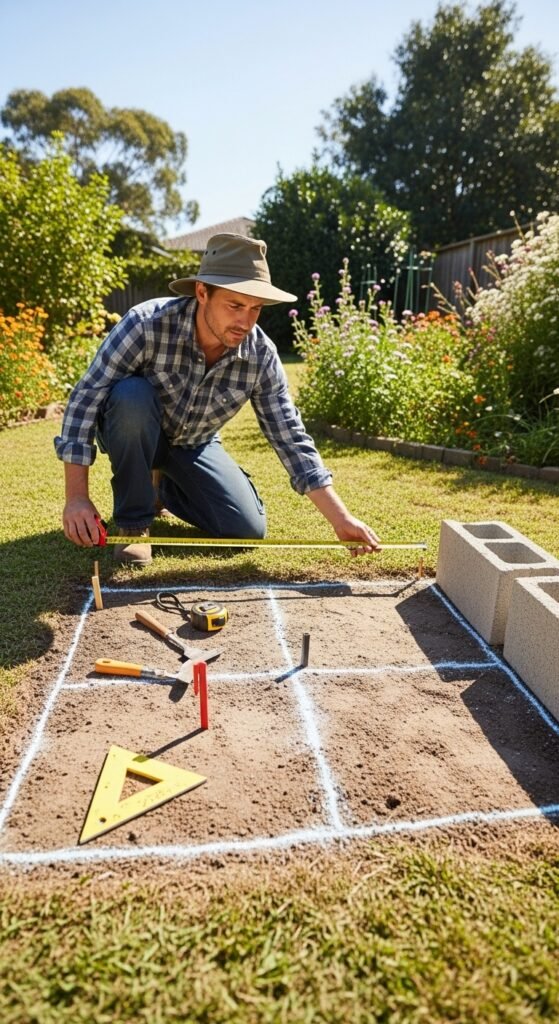
You prioritize sunny, level locations with good drainage to ensure plant success. Clear debris and test soil before construction.
Material Sourcing and Safety
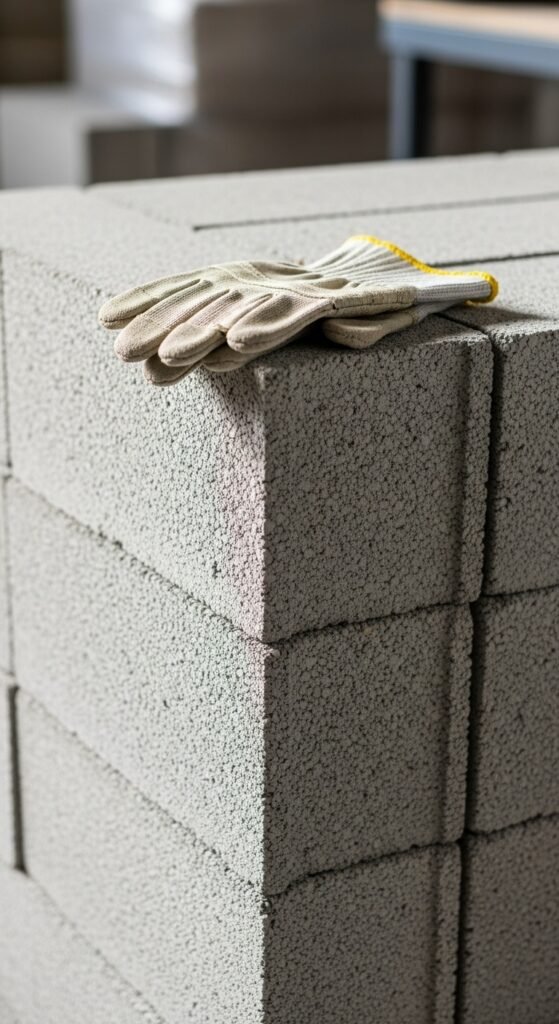
You source clean cinder blocks free from chemicals, wearing gloves during handling to avoid injuries.
Maintenance and Longevity
You regularly inspect for stability, replenish soil, and apply sealants to prolong your beds’ lifespan.
Frequently Asked Questions
Are cinder blocks safe for raised garden beds?
Yes, modern cinder blocks are generally safe, but opt for new ones to avoid potential contaminants from older fly ash varieties.
How deep should cinder block raised beds be?
Aim for 12-18 inches deep by stacking two to three layers, sufficient for most plants’ root systems.
Do cinder block raised beds need a bottom?
No, they benefit from direct soil contact for drainage, but add landscape fabric to suppress weeds if desired.
Can I move cinder block raised beds easily?
While modular, they require disassembly for relocation due to their weight when filled.
What soil mix is best for cinder block raised beds?
Use a blend of topsoil, compost, and perlite for optimal drainage and nutrition.