

Dehydrating is one of the oldest and most effective ways to preserve your garden’s bounty. By removing moisture, you stop the growth of bacteria and mold, concentrating flavors and creating shelf-stable snacks that last for months. However, the #1 question for beginners is always: “How long will this take?”
Our Dehydrator Time Estimator provides a baseline for common foods while adjusting for the two biggest variables: slice thickness and ambient room humidity. Use this tool to plan your preservation day and ensure your food reaches a safe, shelf-stable state.
Dehydrator Time Estimator
Select a food type to see doneness test.
How to Use the Dehydration Estimator
- Food Type: Different items have different water contents. Herbs dry fast, while juicy tomatoes take much longer.
- Slice Thickness: Precision matters. Using a mandoline slicer to maintain a 1/8″ thickness ensures even drying across the whole tray.

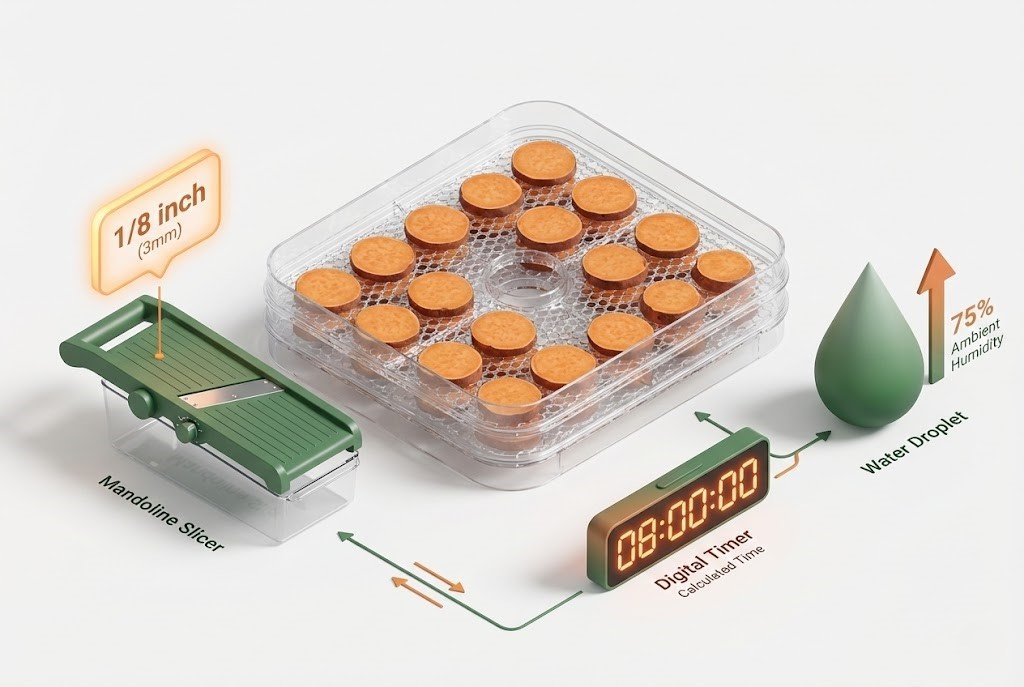
- Ambient Humidity: If you are dehydrating in a humid kitchen or on a rainy day, the machine has to work harder to pull moisture from the air, extending the dry time.
Why We Built This: Temperature Safety First
The “Secret Sauce” of our tool is the temperature guidance. Dehydrating isn’t just about drying; it’s about food safety. For example, Beef Jerky must be dried at 160°F to kill potential pathogens like E. coli. Conversely, Herbs should be dried at a very low 95°F to preserve the delicate essential oils and vibrant green color. Our tool provides the exact setting for each food type to ensure you get professional results at home.
Educational Guide: The Science of Dehydration
Successful dehydration relies on the balance of Heat and Airflow. As the machine warms the food, water moves to the surface (evaporation). If the airflow is too low, the air around the food becomes saturated, and drying stops—this is called “case hardening,” where the outside looks dry but the inside remains moist and prone to mold.
Tips for Perfect Dehydration
- Blanching: For vegetables like carrots or green beans, a quick 2-minute steam blanch before dehydrating helps “set” the color and speeds up the drying process.
- Ascorbic Acid: To prevent browning on apples or pears, dip slices in a mixture of lemon juice and water before placing them on the trays.
- Rotating Trays: Even with modern fans, the trays closest to the heating element often dry faster. Rotate your trays halfway through the cycle for a uniform batch.
Frequently Asked Questions
Q: Can I over-dry my food?
A: For vegetables and herbs, it is almost impossible to over-dry. You want them “brittle” or “crisp.” For fruits, over-drying makes them hard rather than chewy, but it also increases their shelf life.
Q: How do I store dehydrated food?
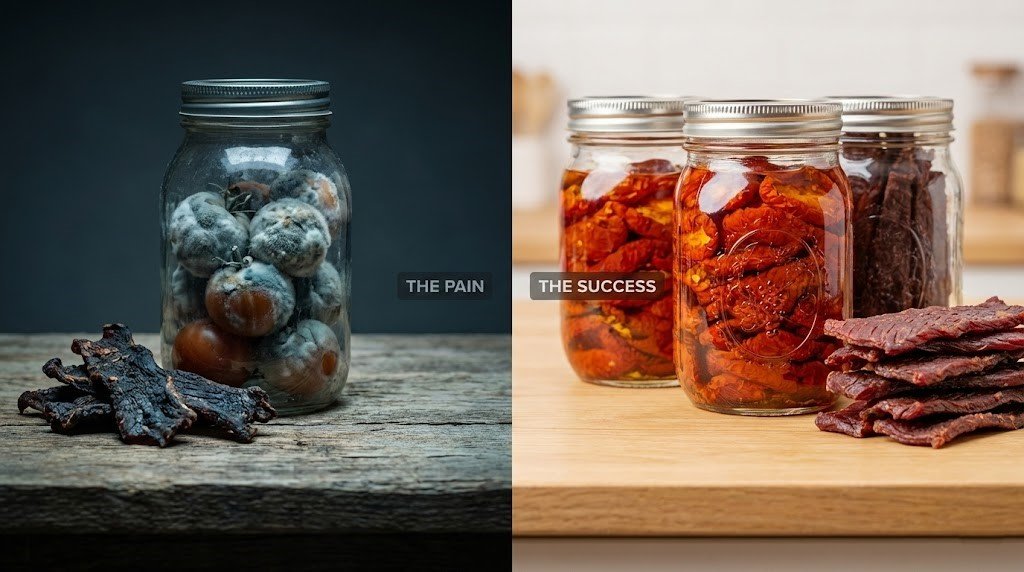
A: Wait for the food to cool completely before placing it in airtight glass jars. If you see any condensation on the inside of the jar the next day, the food isn’t dry enough—put it back in the dehydrator!
Q: Why does my jerky feel oily?
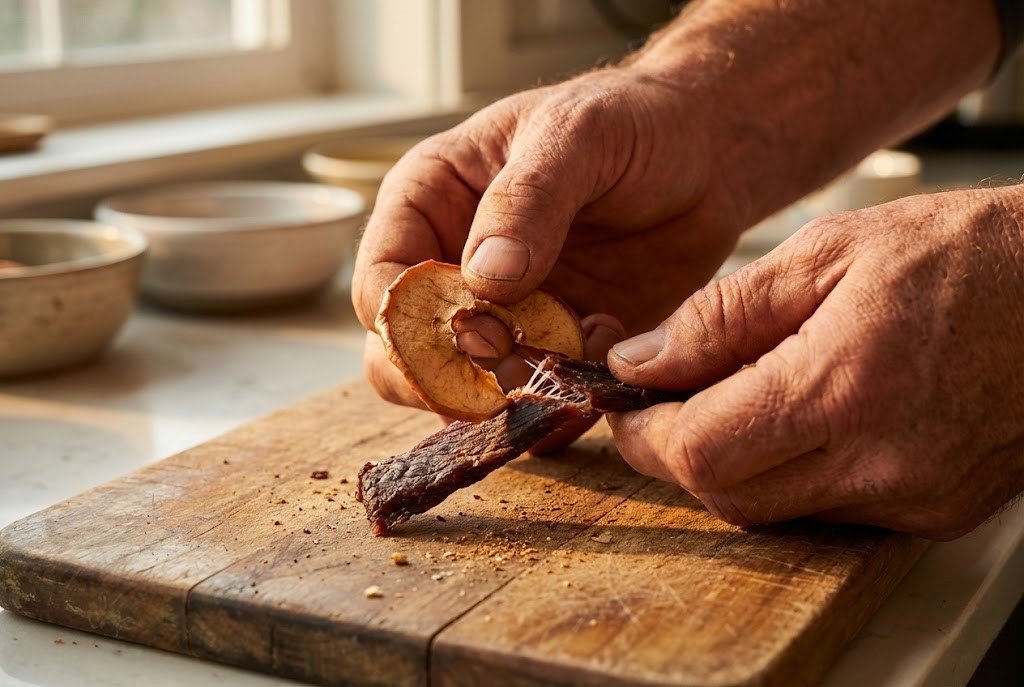
A: Fat does not dehydrate; it goes rancid. Always use the leanest cuts of meat for jerky and blot away any visible surface oil with a paper towel during the drying process.